Cheesemaking
I'm not sure when I got into cheesemaking, or why. I started with making my 'quesadilla cheese' (farmhouse cheddar) because it was good enough to eat without aging and the only real equipment I needed was a press, but it really took off once I got a mini wine fridge with a temperature control, which meant I could properly age cheeses and get some bloomy rinds going. I'm quite familiar with the process now, so there will be some proper experimentation and hopefully boundary-pushing coming up (some discussion on future plans in the Camembert section).
Quesadilla Cheese
The first proper cheese I made, and the one I make most frequently. A basic farmhouse cheddar recipe that was in the little instruction booklet that came with my cheese press. I had no way to age it when I started, so I would just leave the pressed cheese to air-dry at room temperature for a few days, and it was ready. At first, I was disappointed that the cheese wasn't good enough to eat plain-sliced - it's chalky and strange. But then I discovered that it melts really really well, and when it's melted it tastes really really good. "It may not be the best cheese ever, but it is the best quesadilla cheese ever."
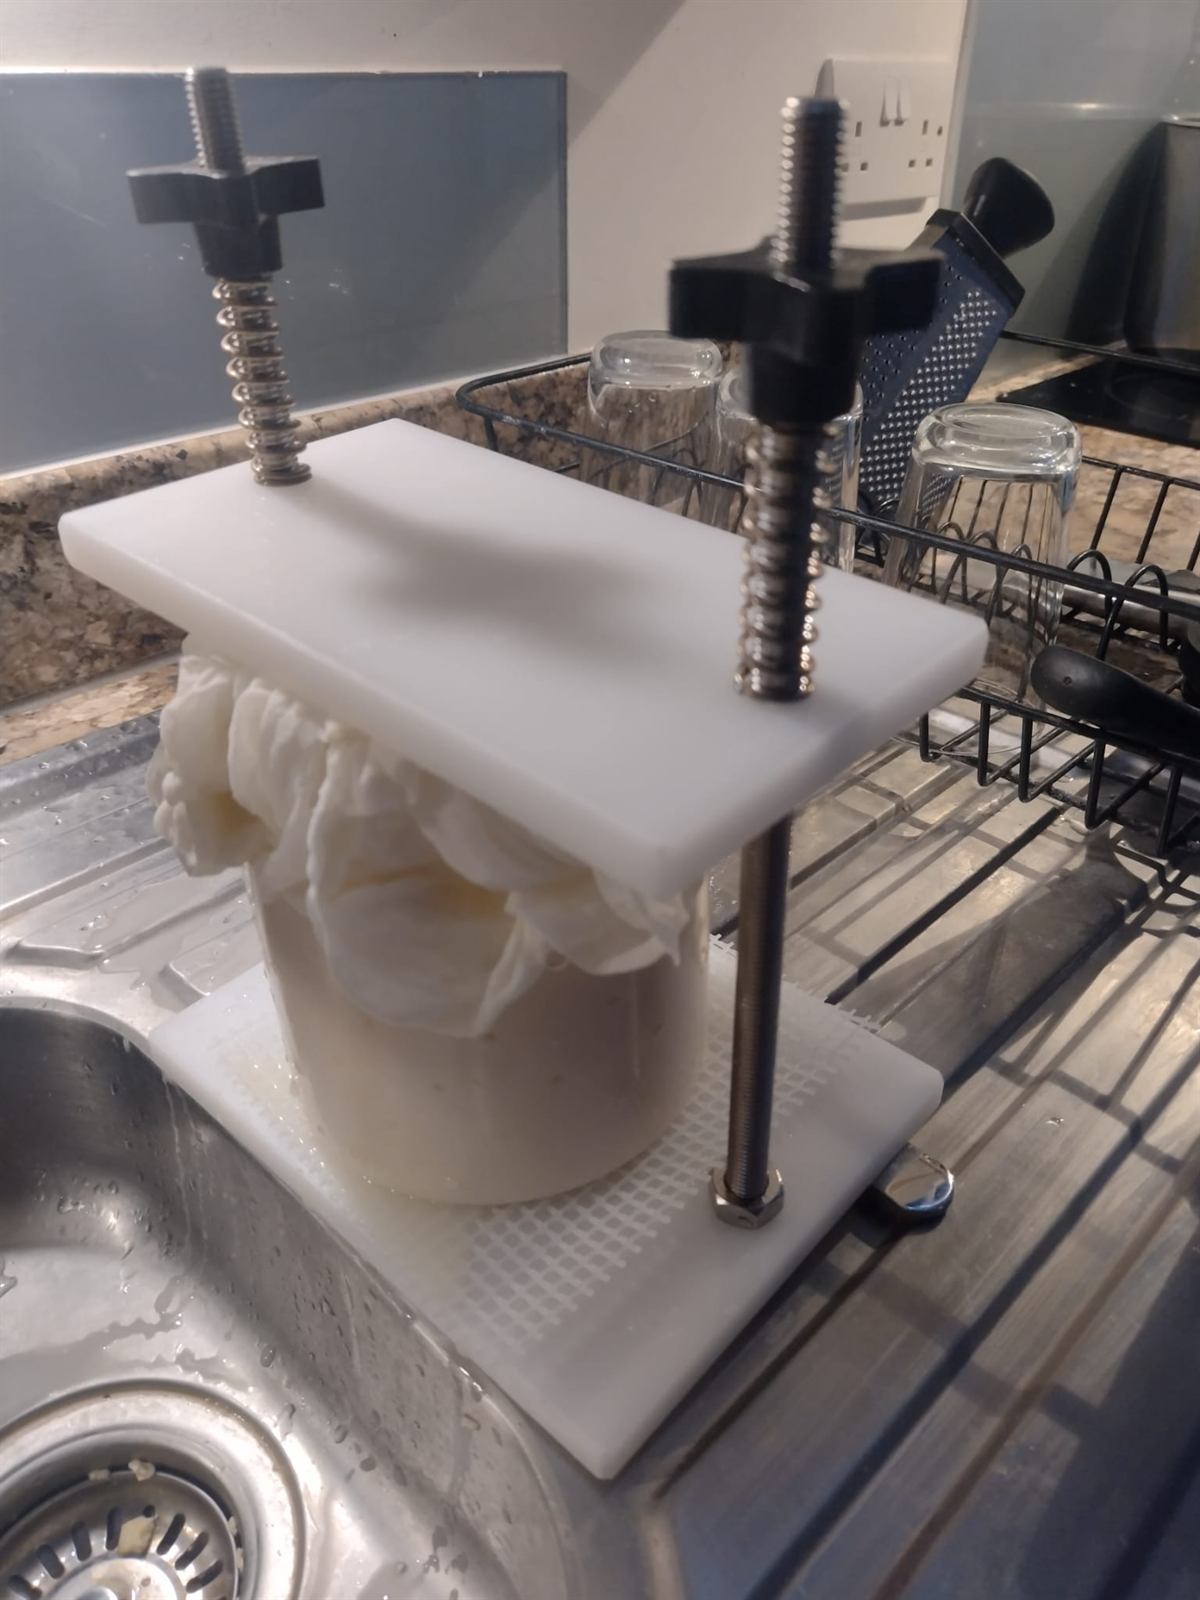
My cheese press in action.
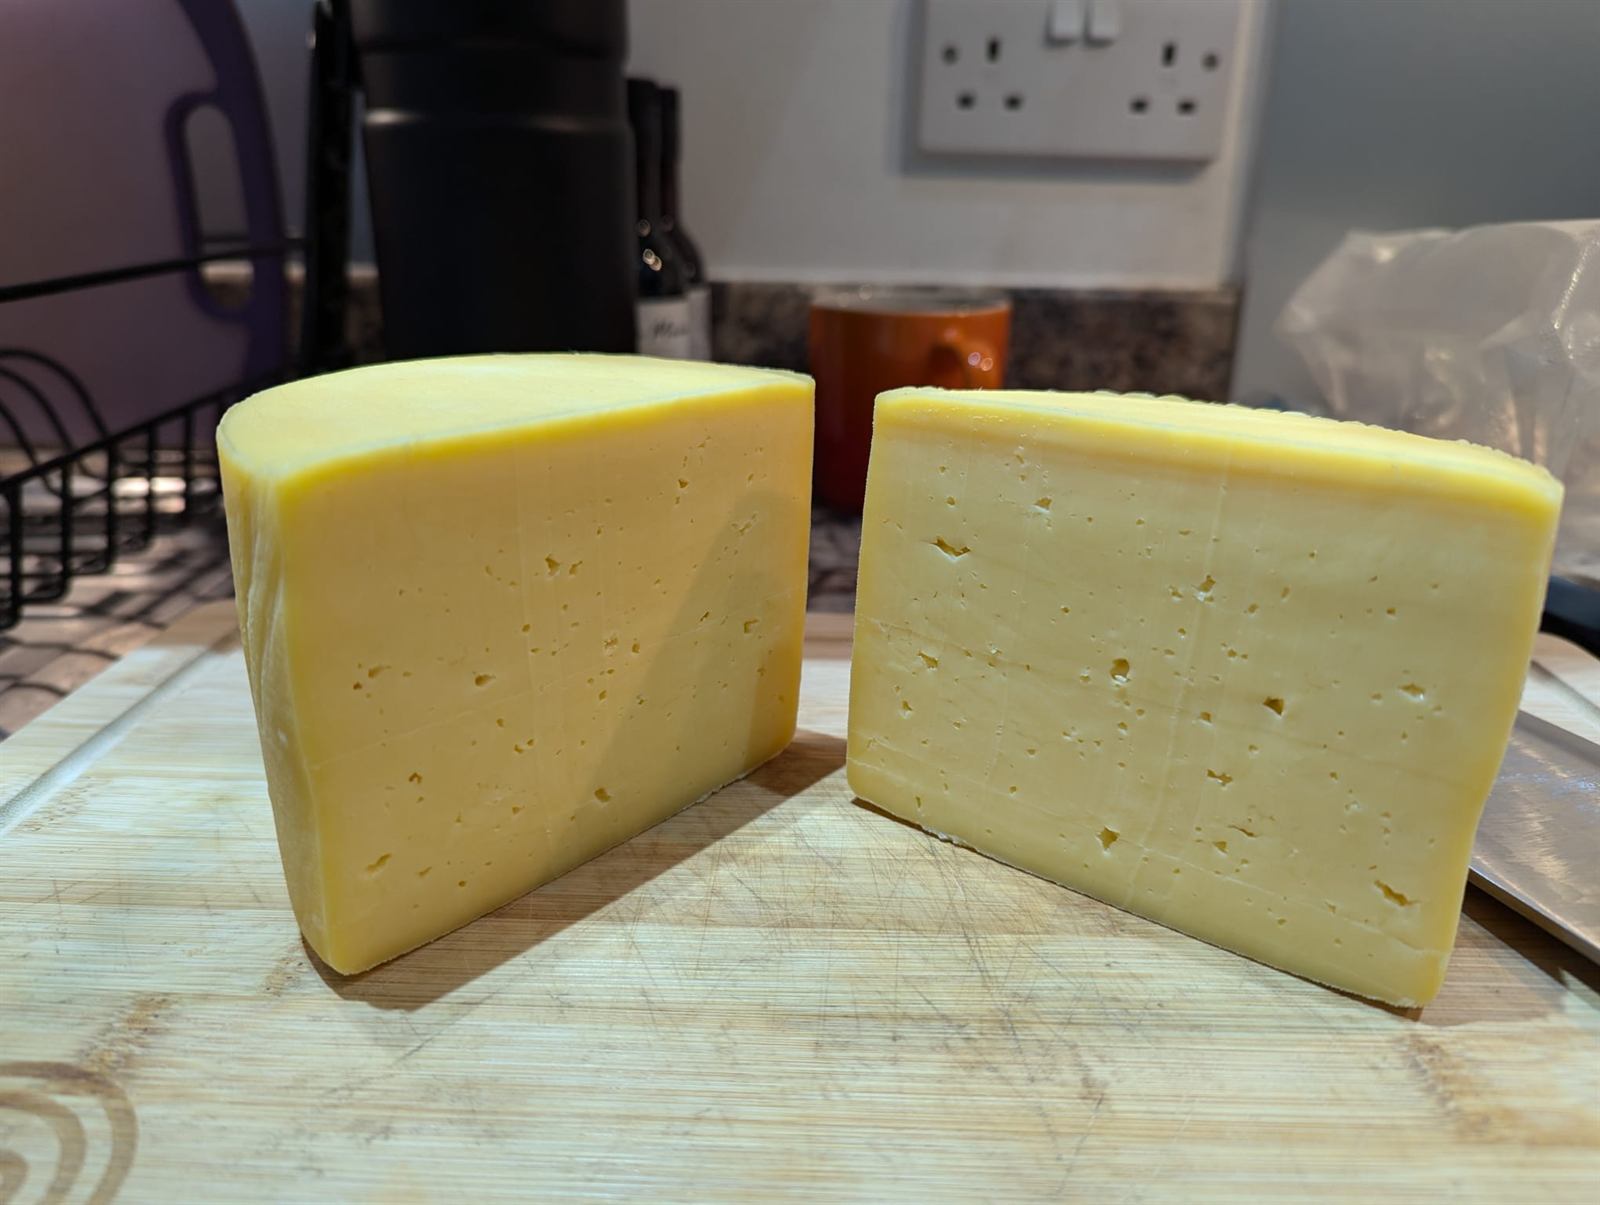
My first hard-pressed cheese.
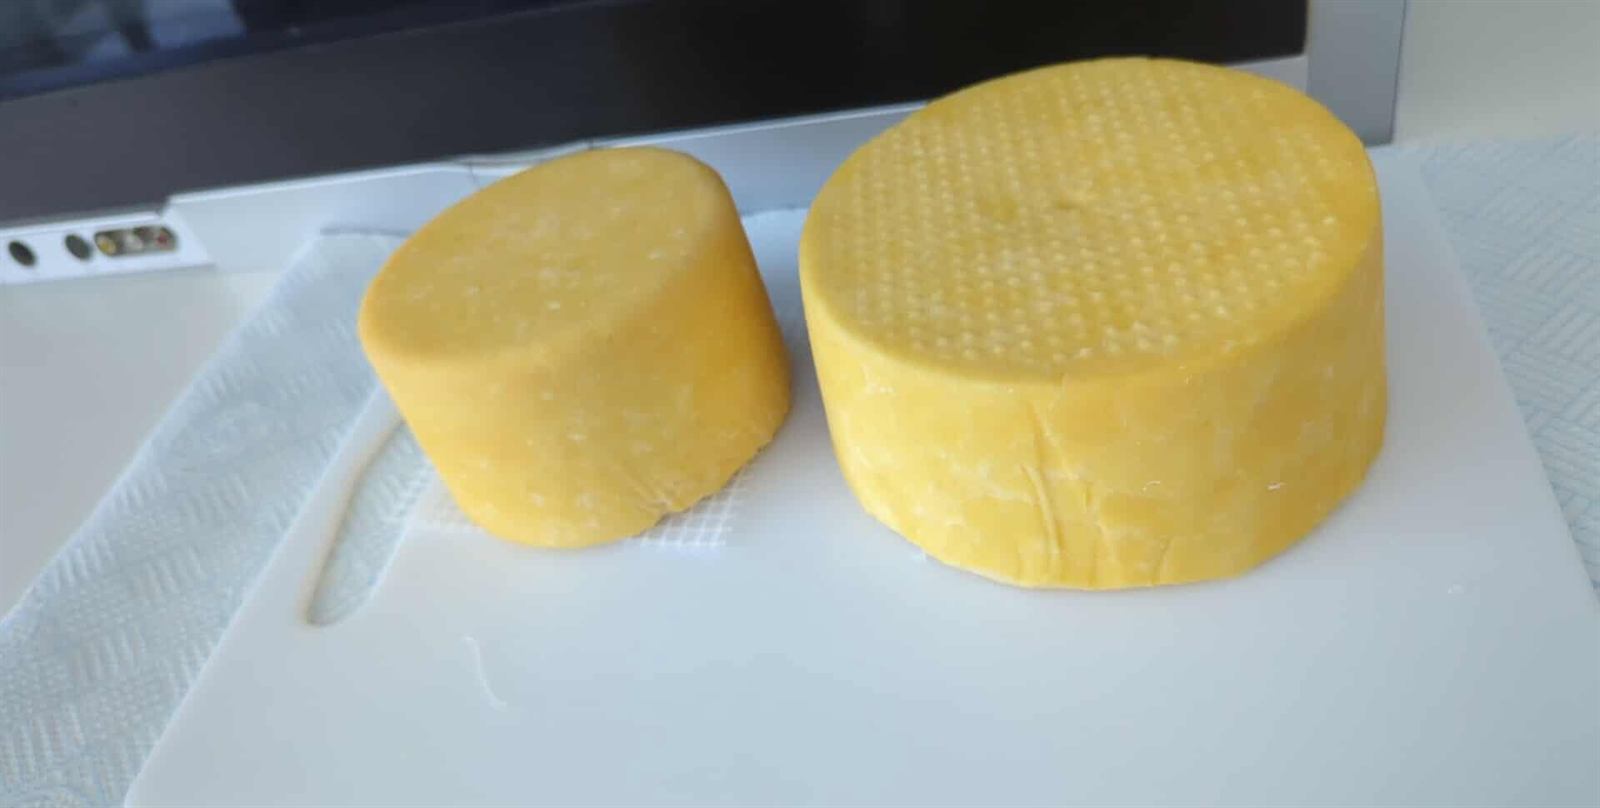
Stepping up production to match the quesadilla consumption rate.
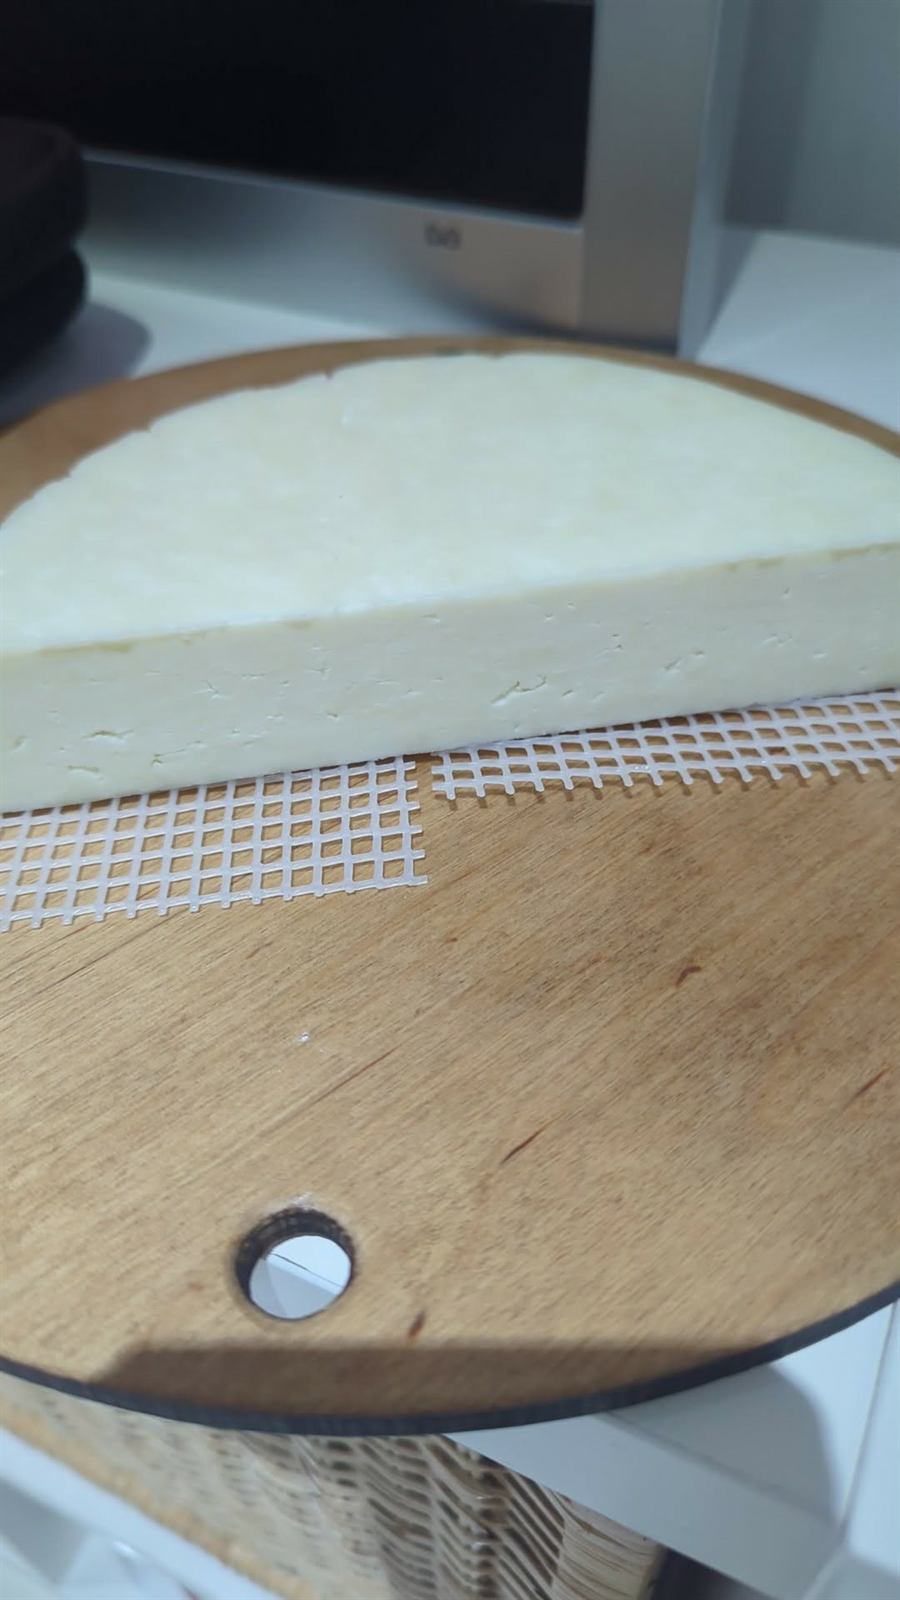
A test with water buffalo milk! The blue-hue is beautiful. The yield from water buffalo milk is meant to be much higher than with normal milk, so I used a larger press, but the yield was about the same as before...
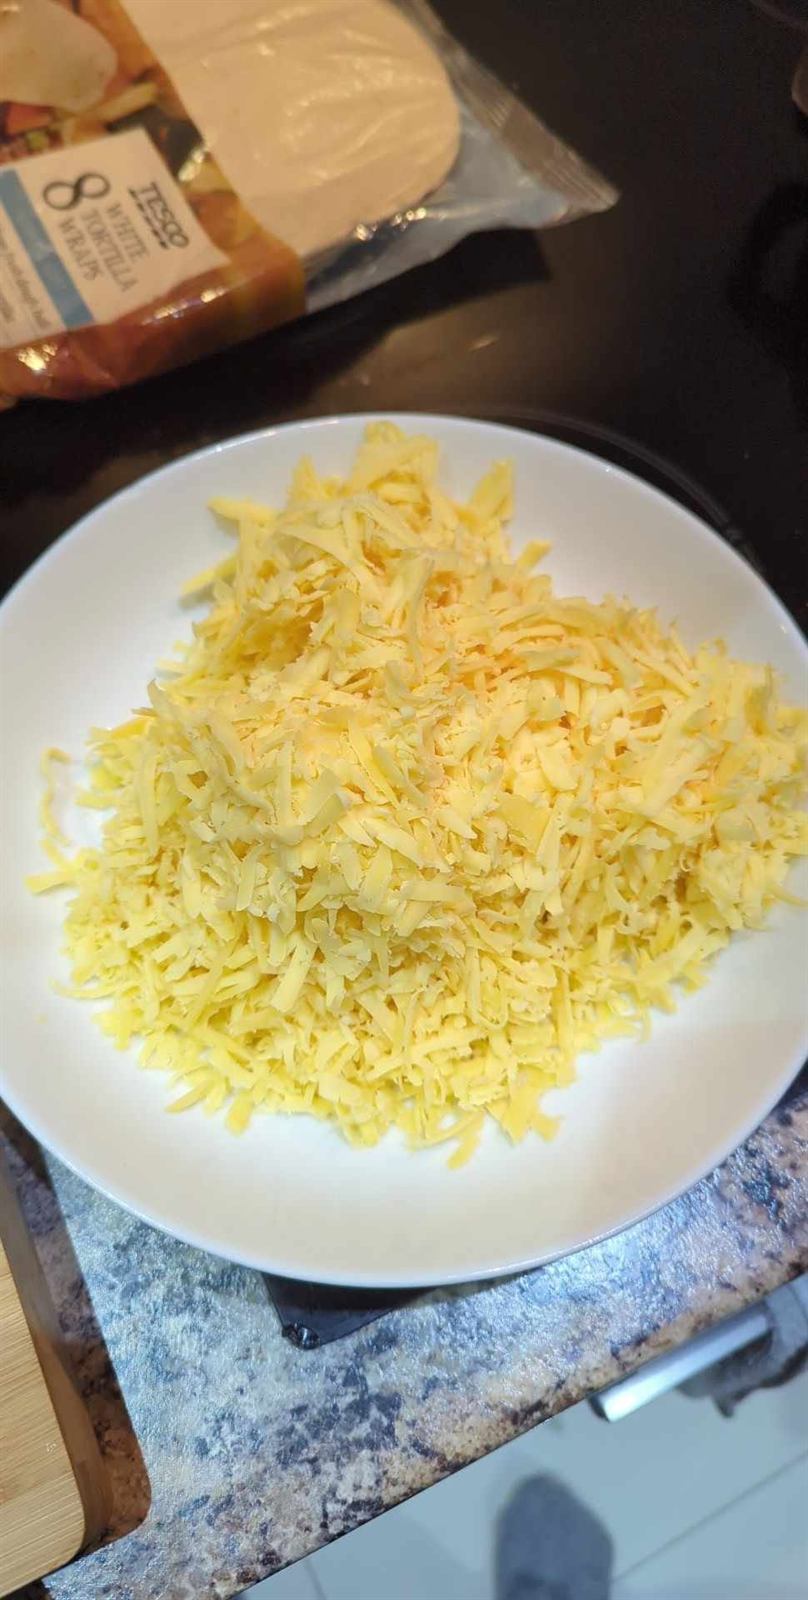
Shredded and ready for melting.
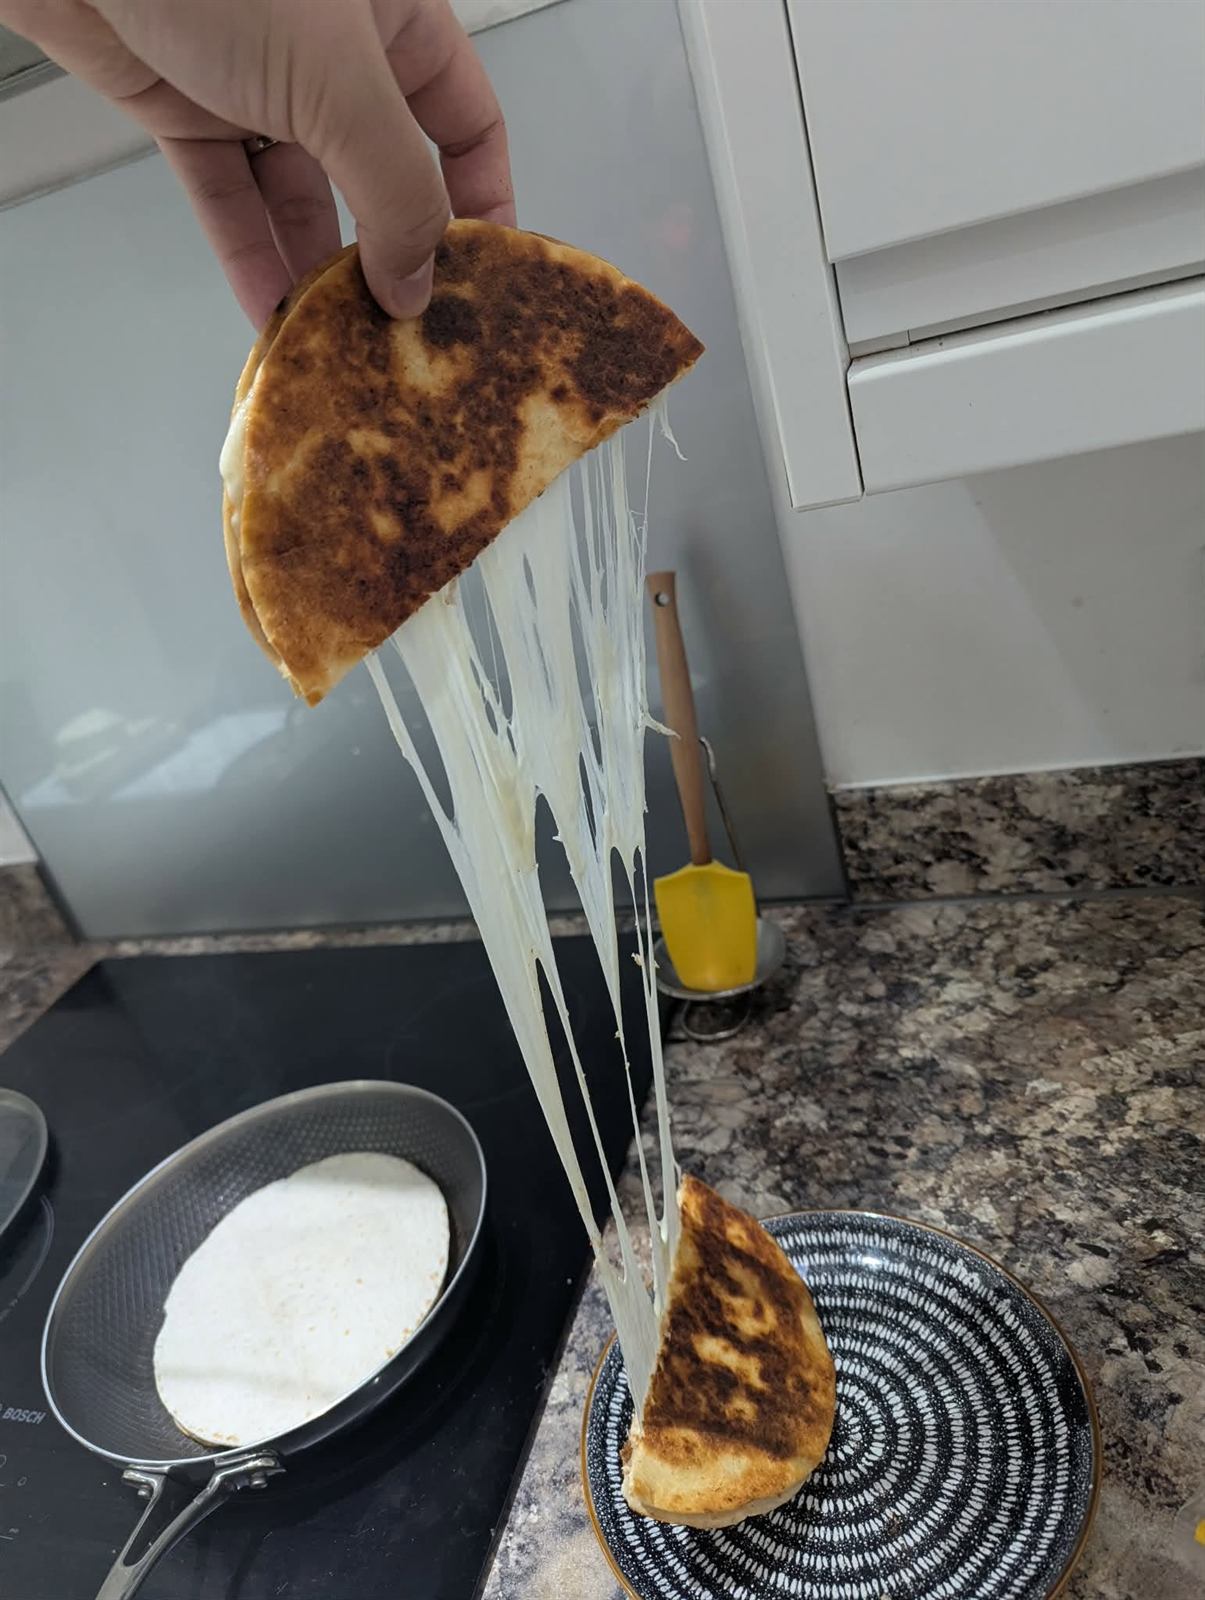
Picture speaks for itself.
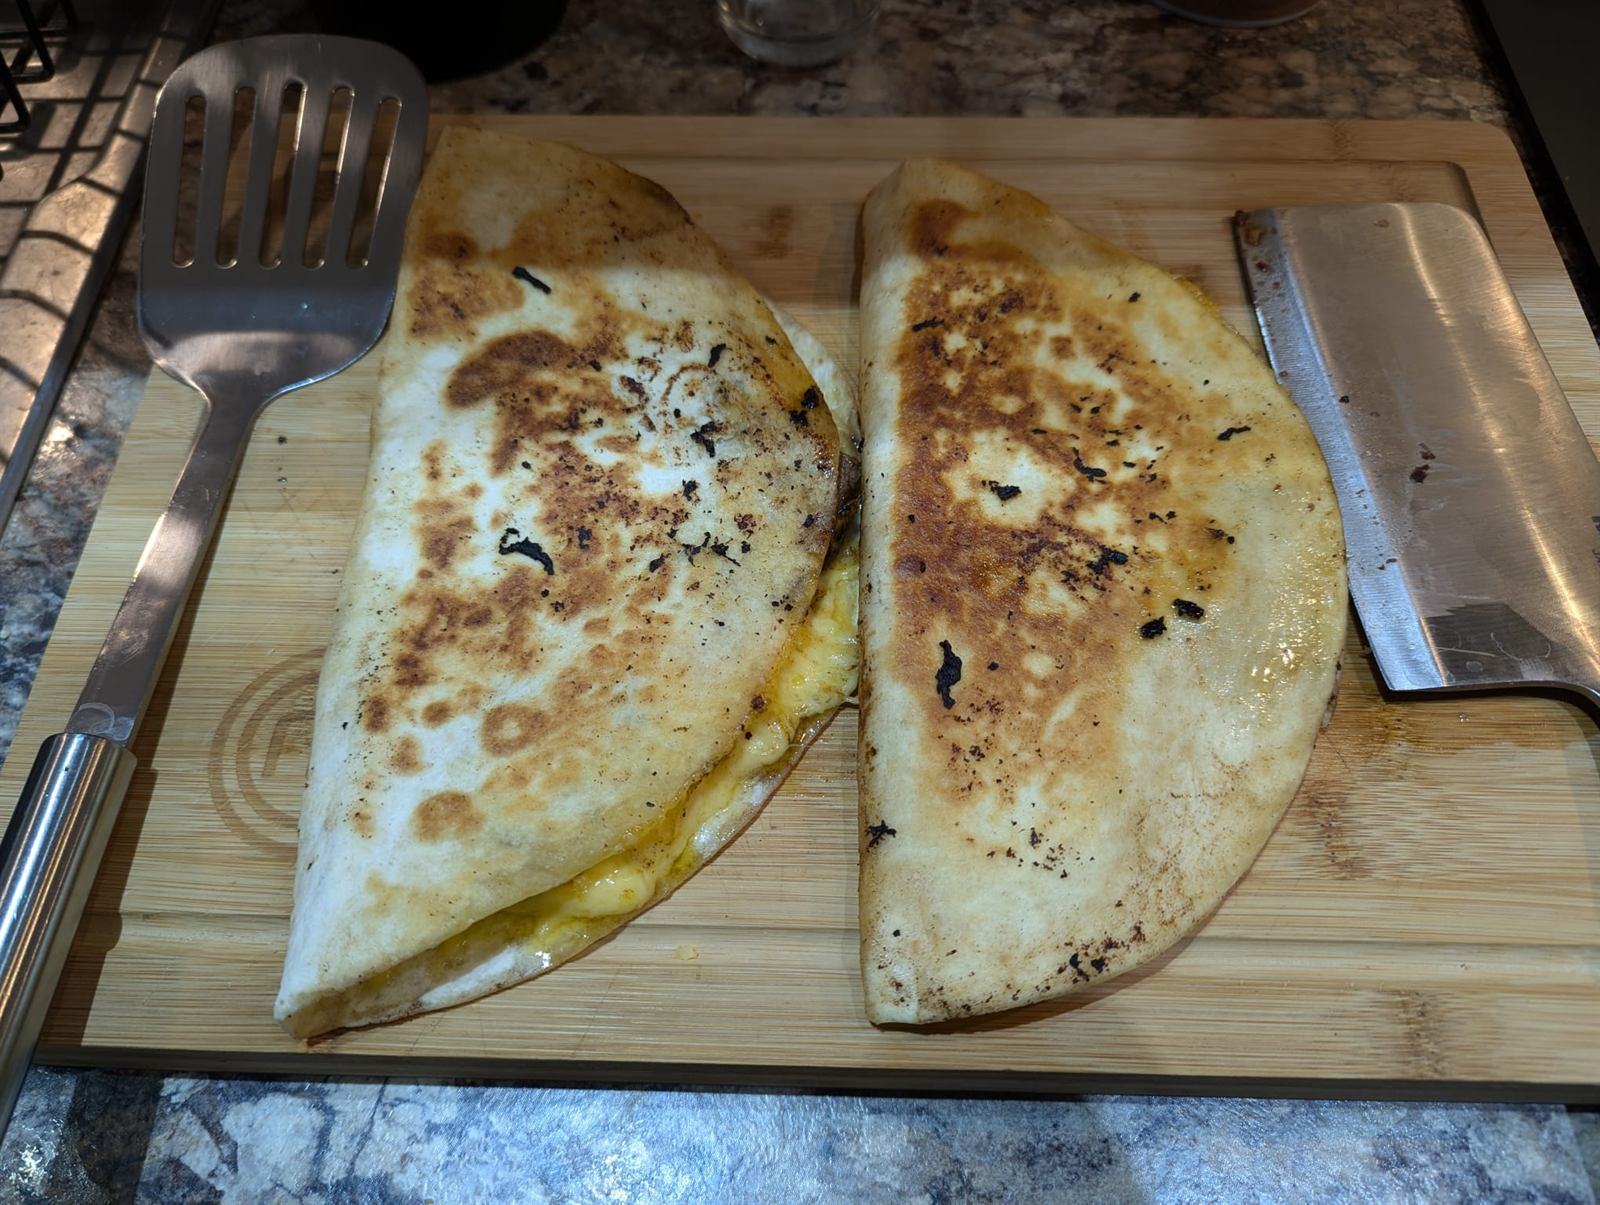
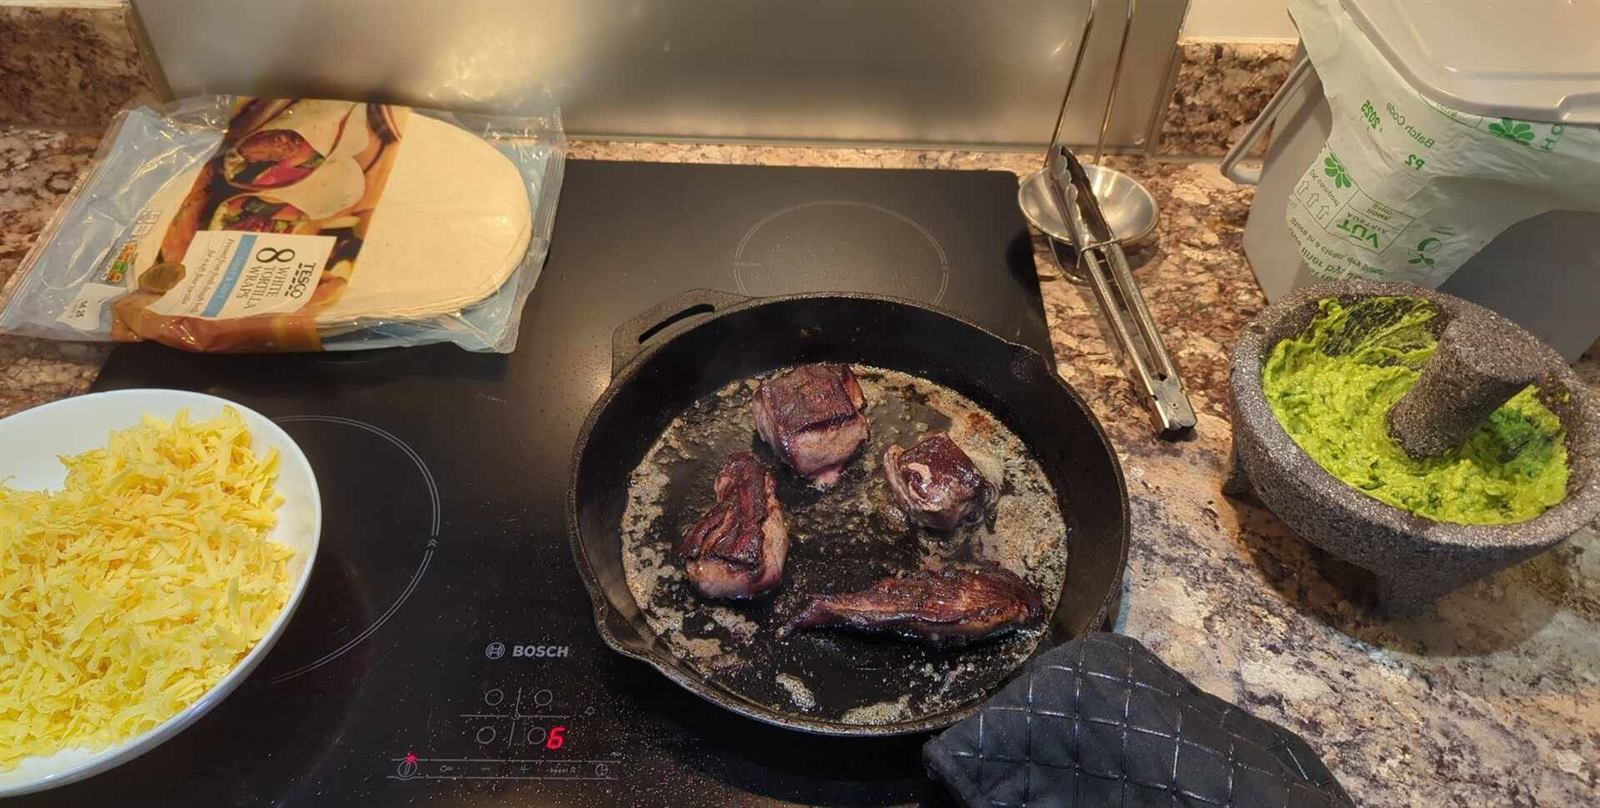
Some venison quesadillas, with guacamole. The best combo I've tried yet.
Camembert
The first soft, bloomy-rind cheese I tried with my new cheese (wine) fridge. Temperature control was easy - you can set and forget on the fridge. Humidity control was basically eyeballed - cover in a large tupperware and wipe excess moisture 2x/day. Along the way, I saw a very unique and seemingly rarely-used recipe for camembert in Normandy. The camembert are soaked in Calvados (apple brandy from Normandy), then coated in toasted breadcrumbs and walnuts. Well, my applejack (see the winemaking section) is basically apple brandy, so I figured it would be very cool to combine these two products into a unique recipe straight from Normandy. Alas, needs must, and all three camembert from the batch were eaten un-adulterated, so consider the applejack-soaked camembert a priority future work.
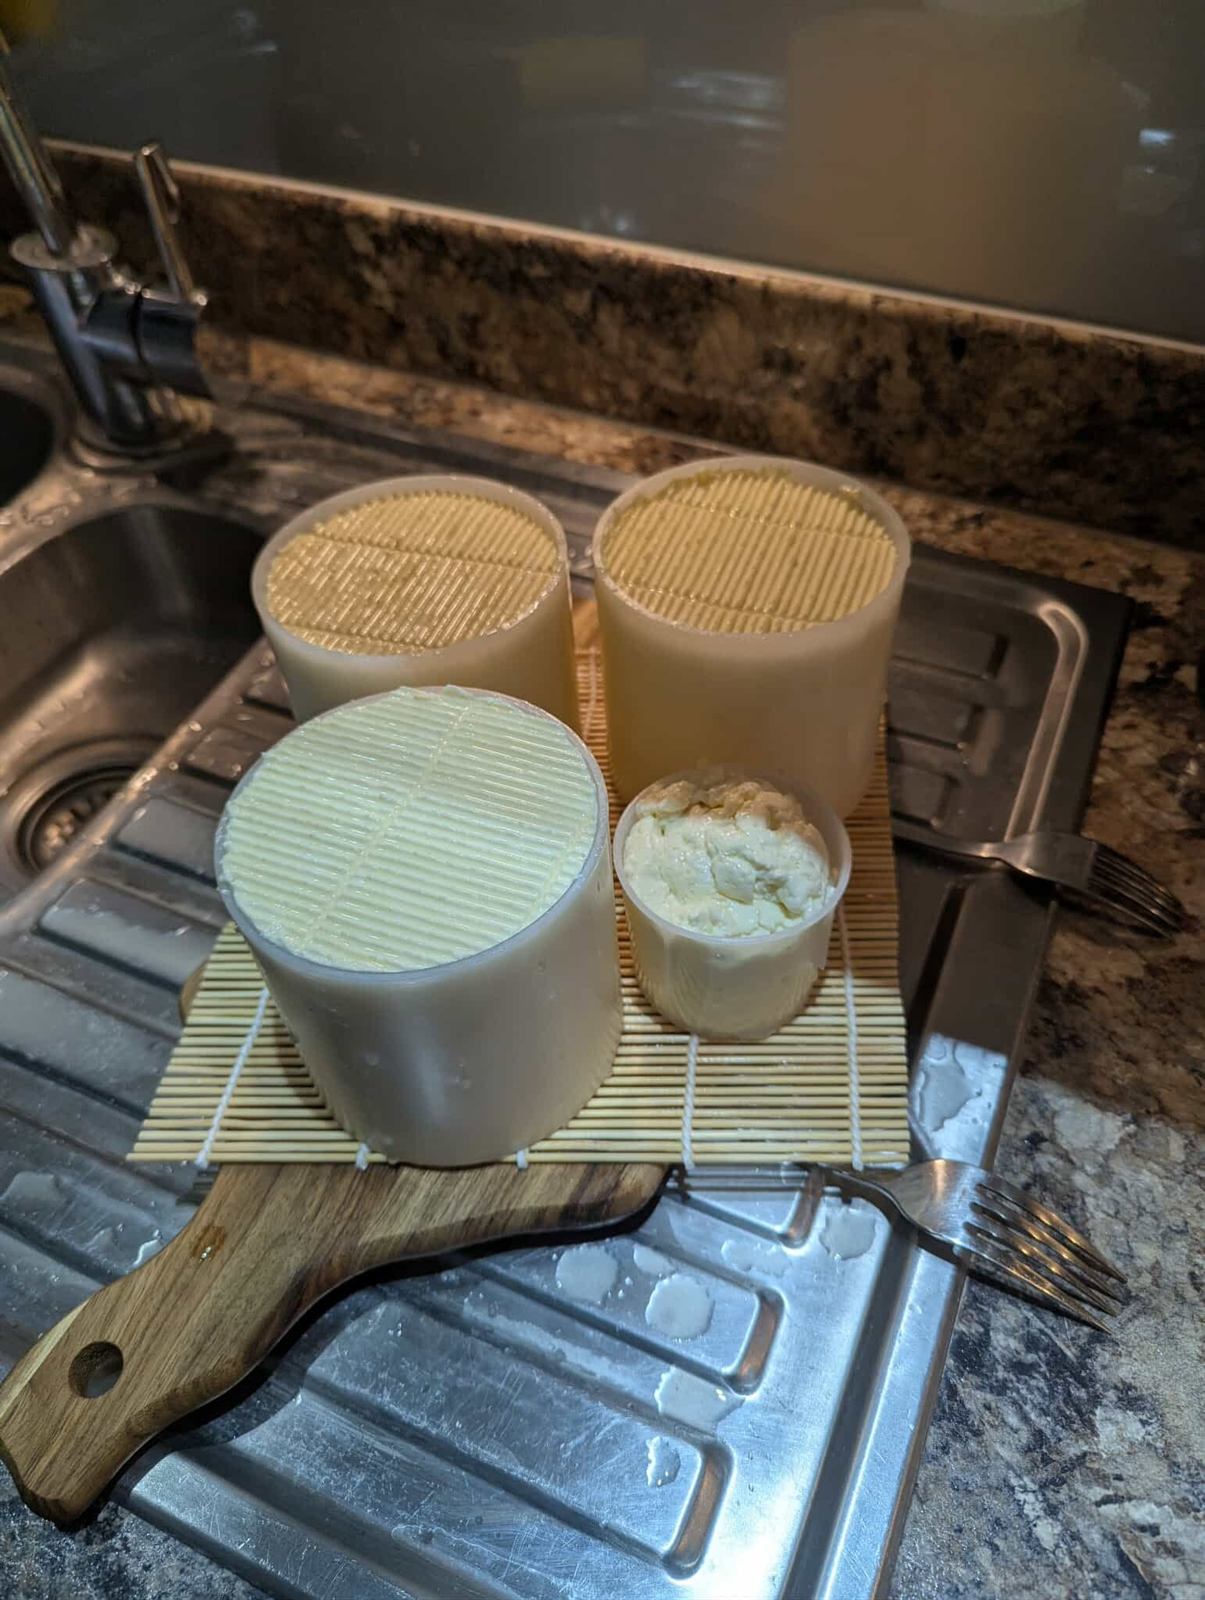
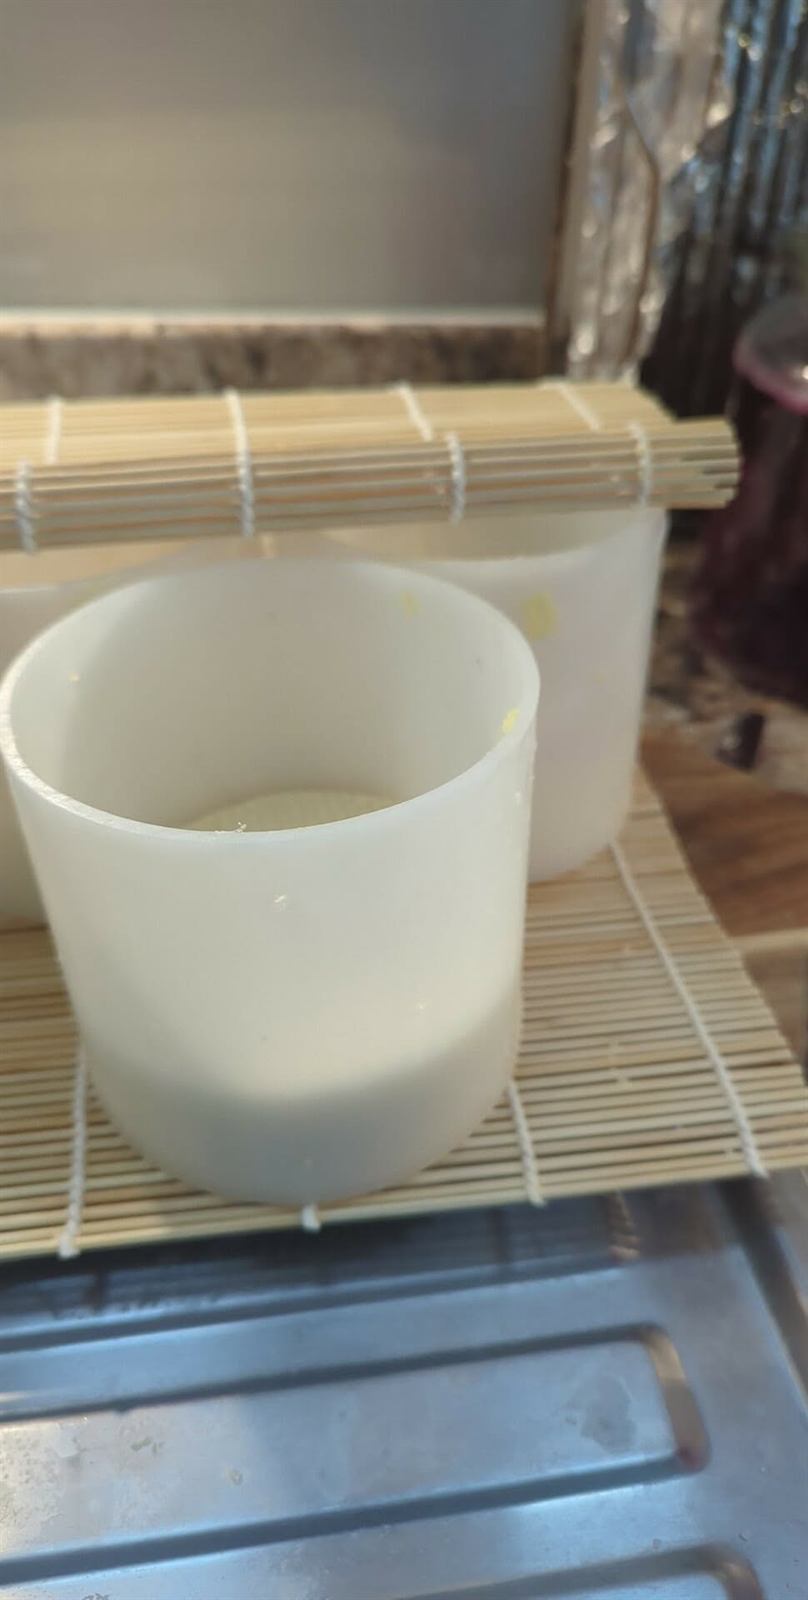
The curds sitting in their molds. They shrink by a huge amount overnight.
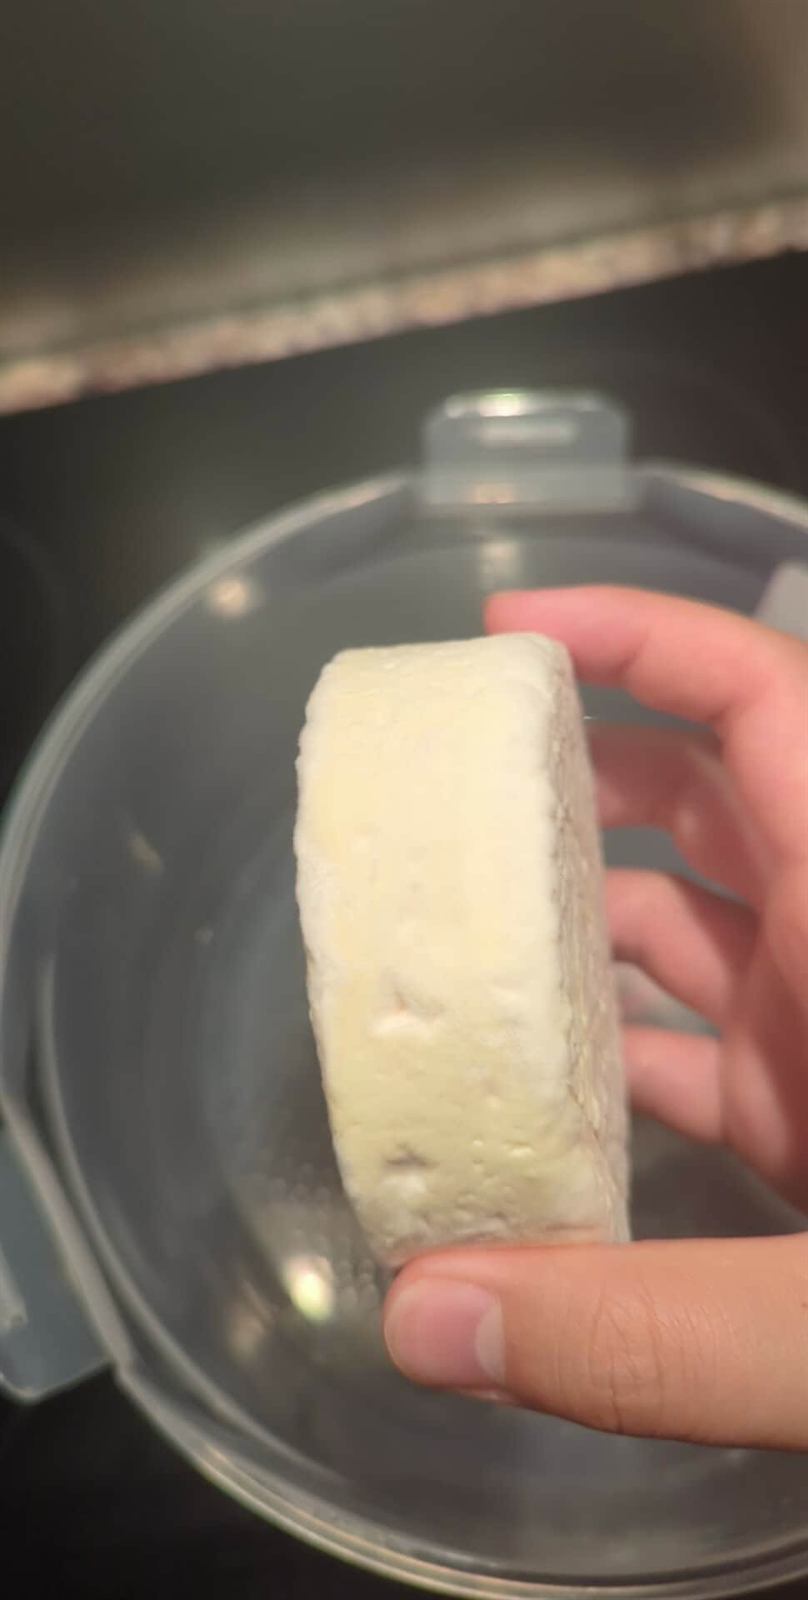
The beginnings of white fluff (Penicillium candidum). My first ever bloomy rind. The clean white coat and lack of contaminants was probably helped by this being the first cheese I made in the new fridge - not sure if I'll have quite as perfect of a coat now that the fridge has seen some funky blues.
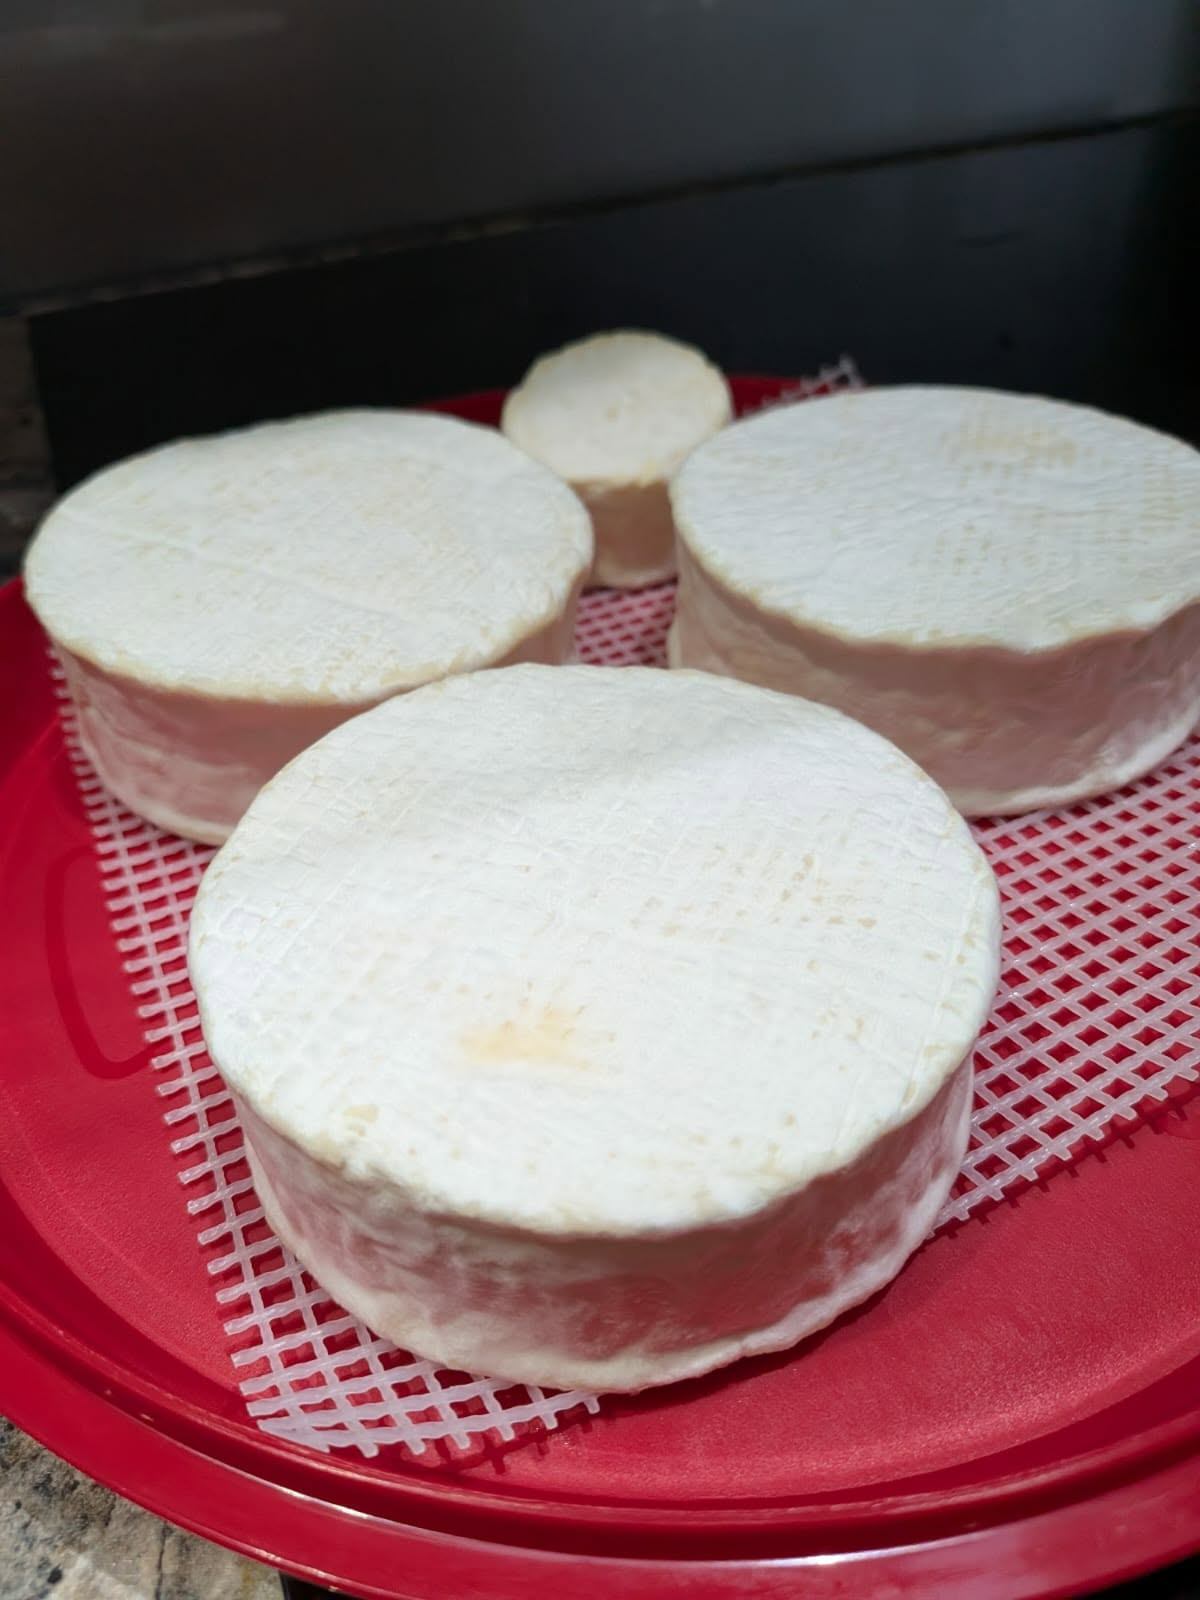
The white fluff is patted down to create the thick rind.
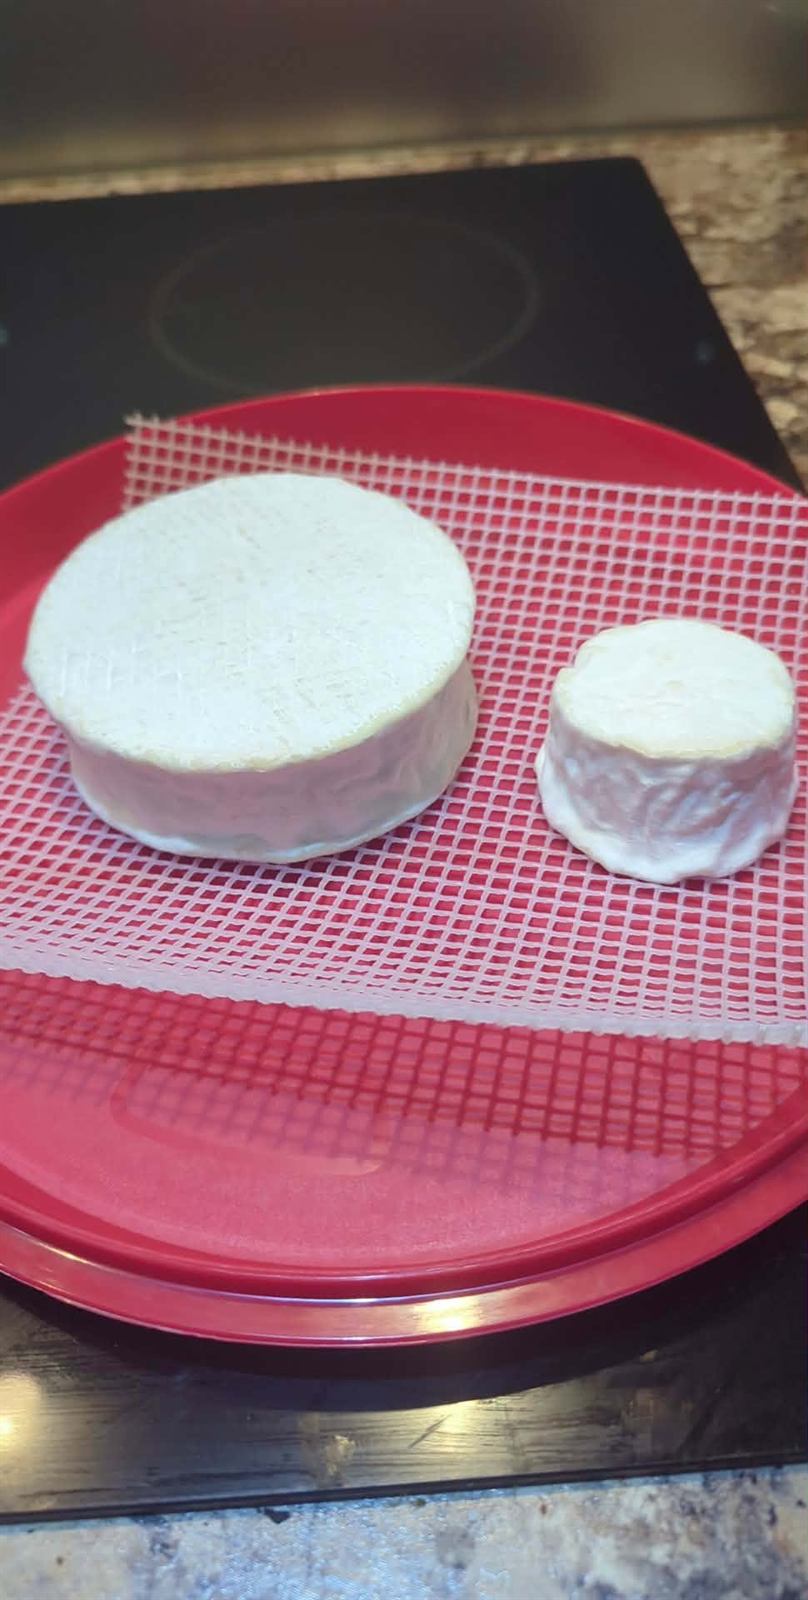
The brainy wrinkling caused by the geotrichum mold.
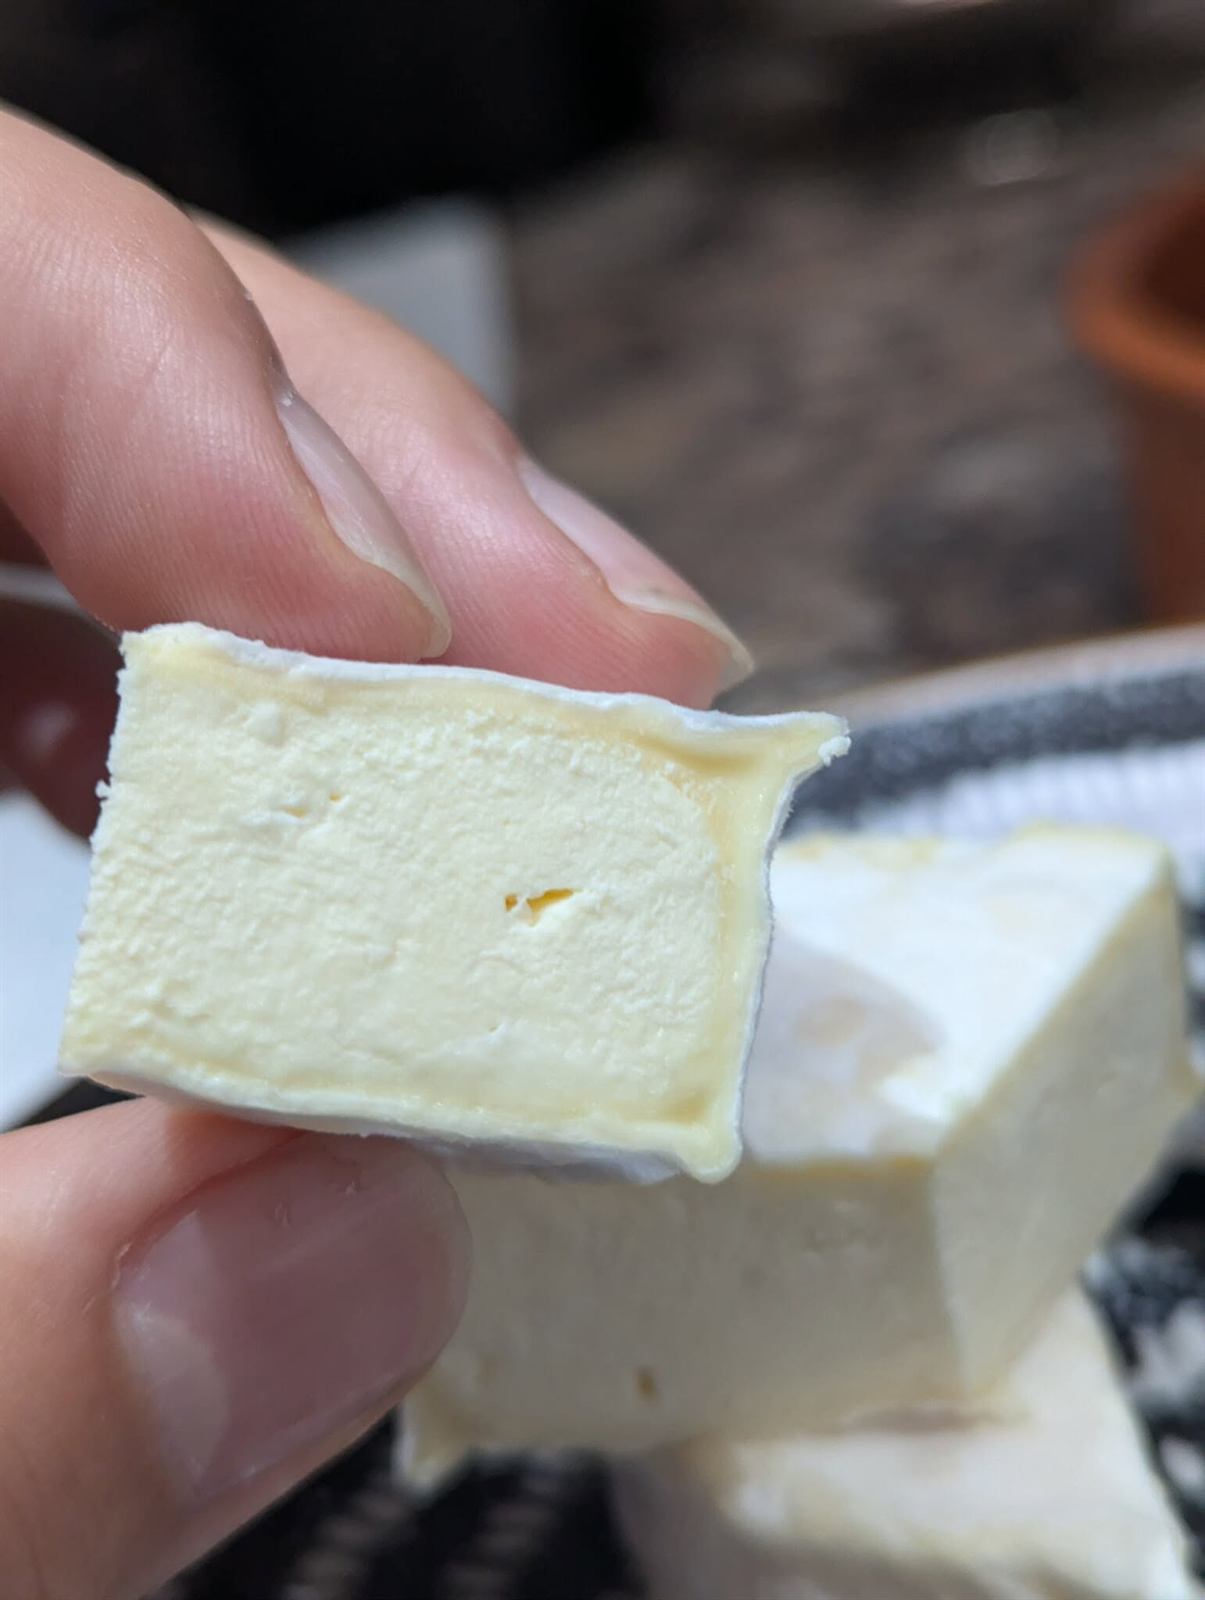
The gooey layer from the outside slowly works its way inwards as the cheese ripens. The longer it ripens, the gooier and funkier the cheese gets, so by making your own, you get to sample it at a few different timepoints and see just how much the cheese changes.
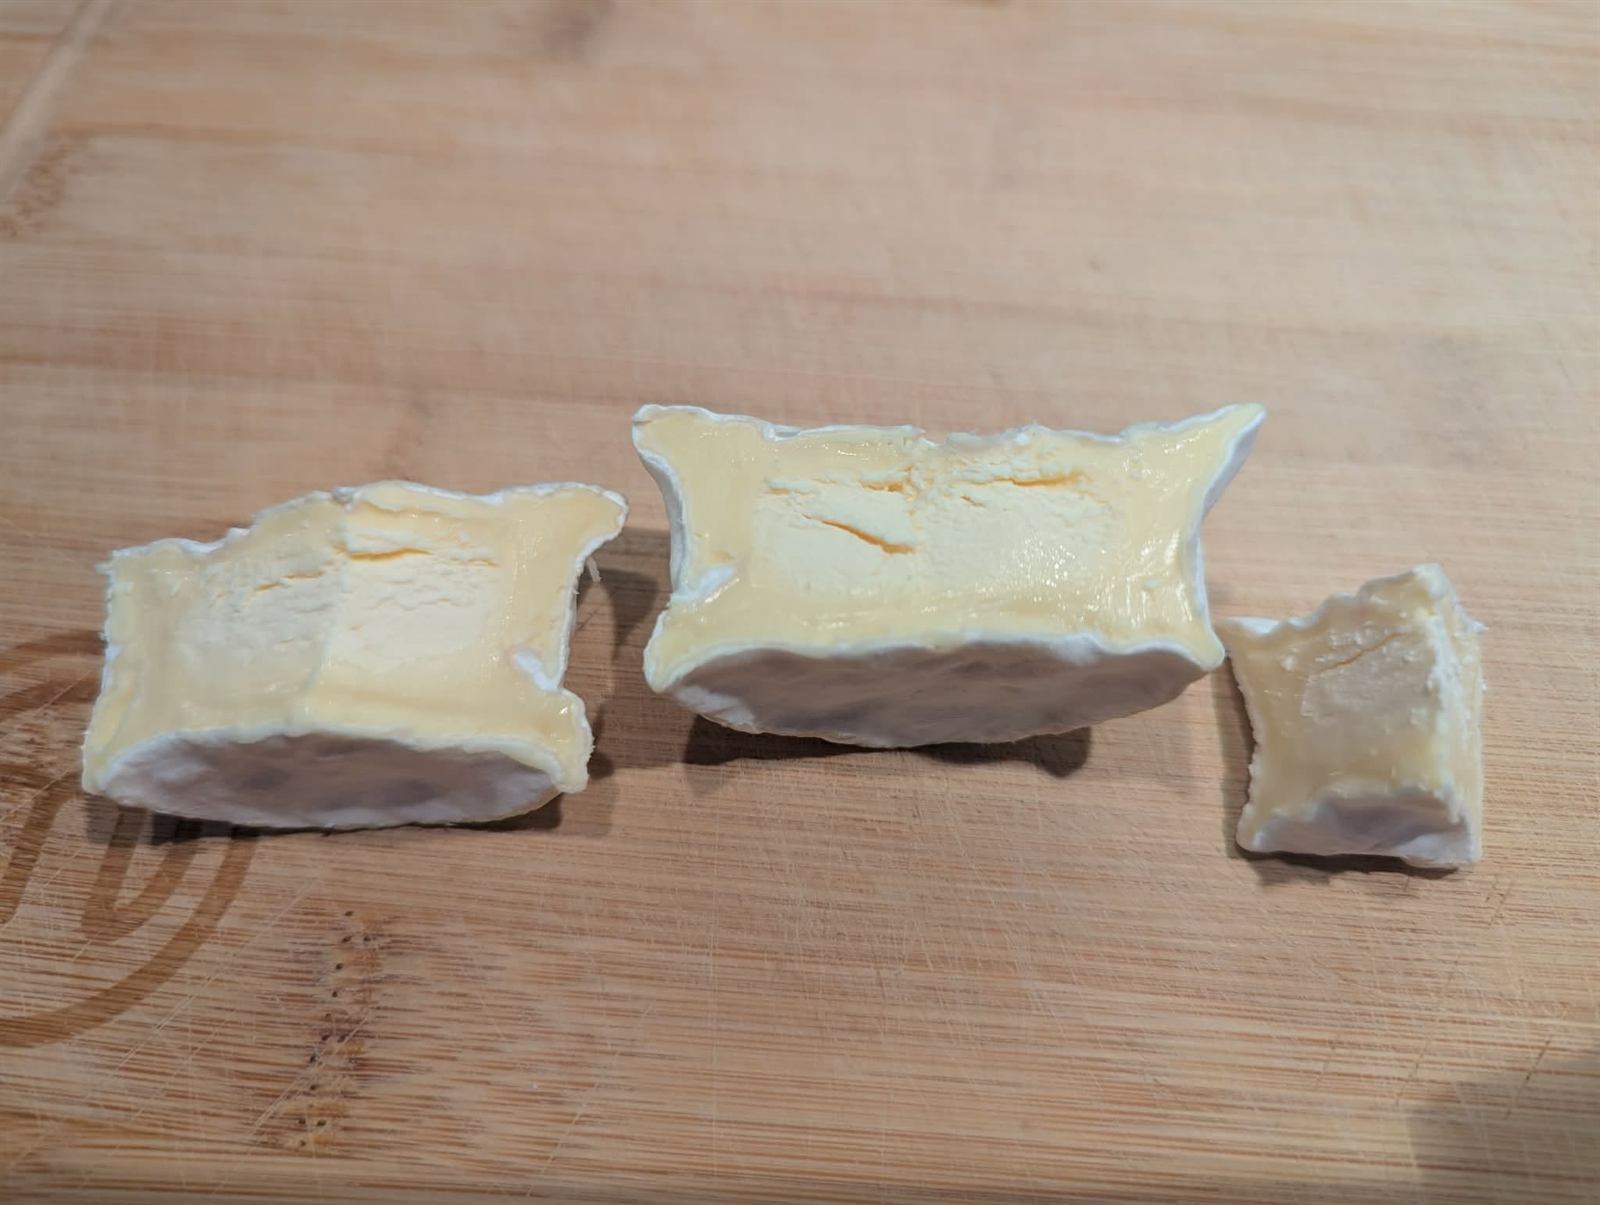
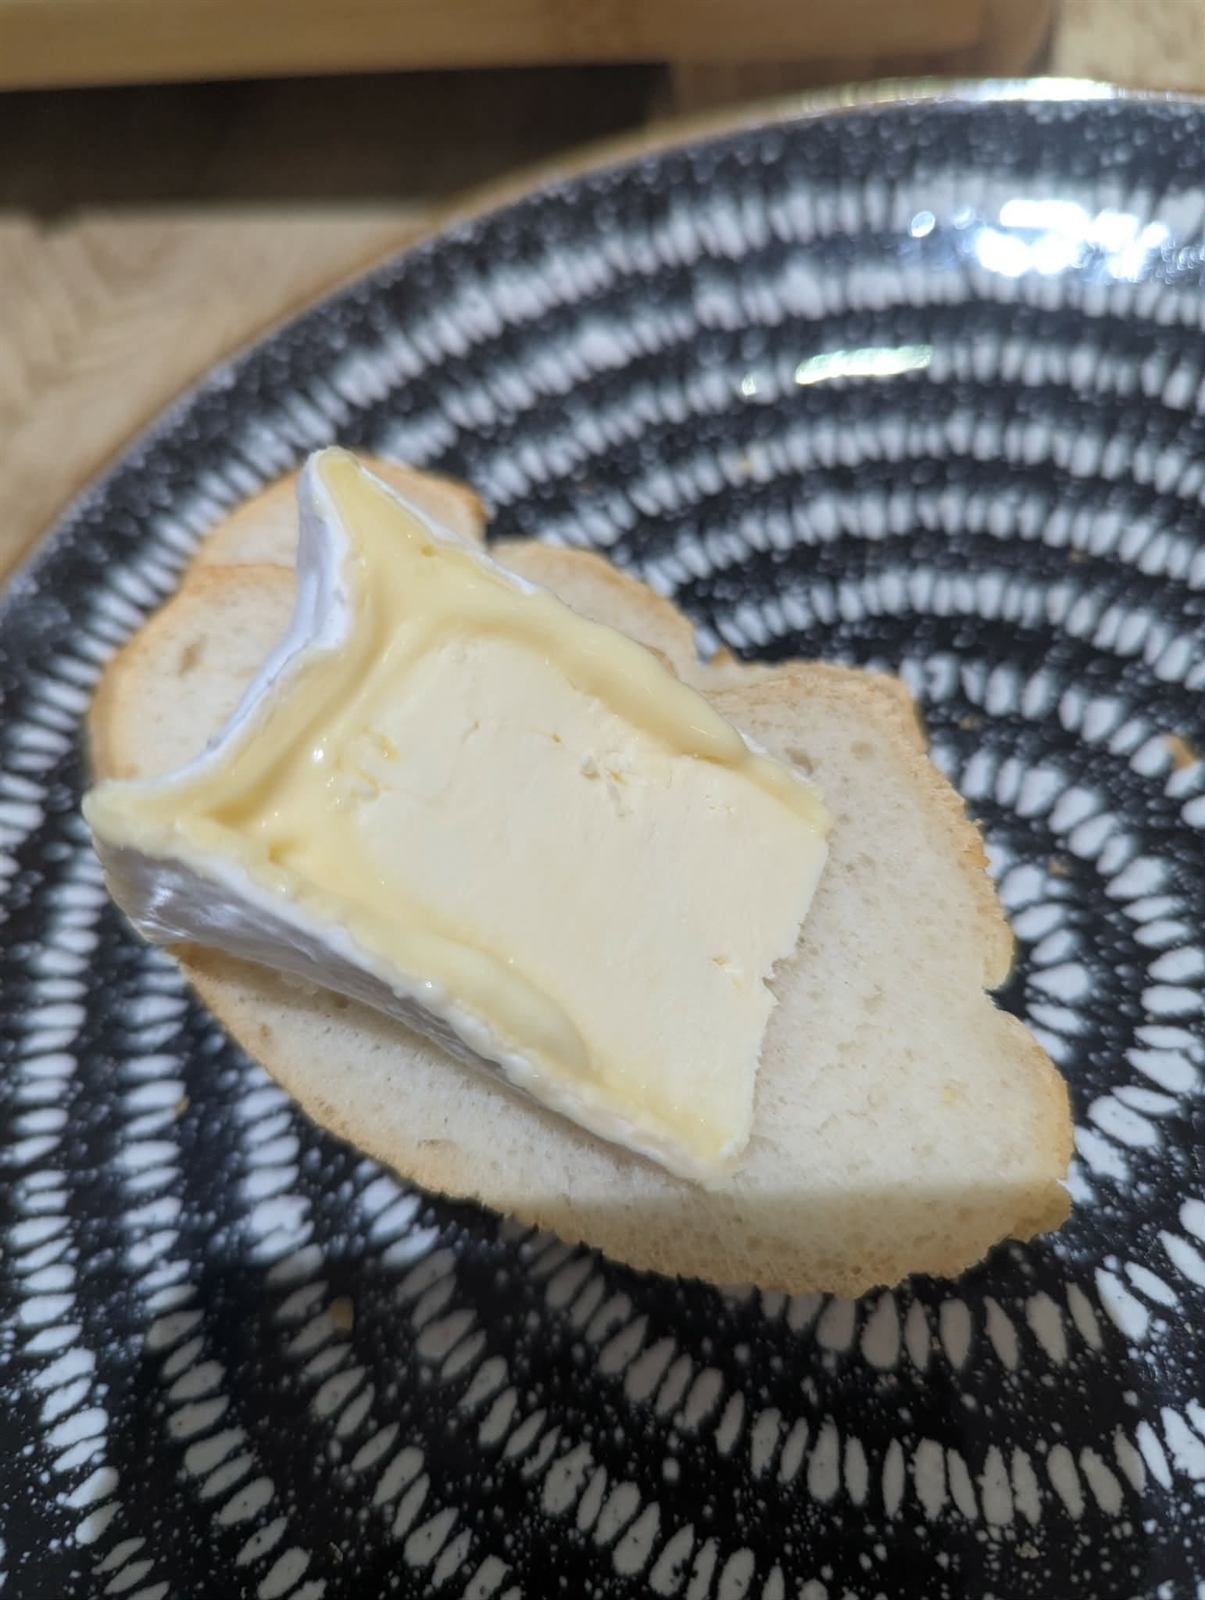
The small 'sample' cheese, made with the curd that didn't fit in the three large molds. The gooey layer has penetrated further.
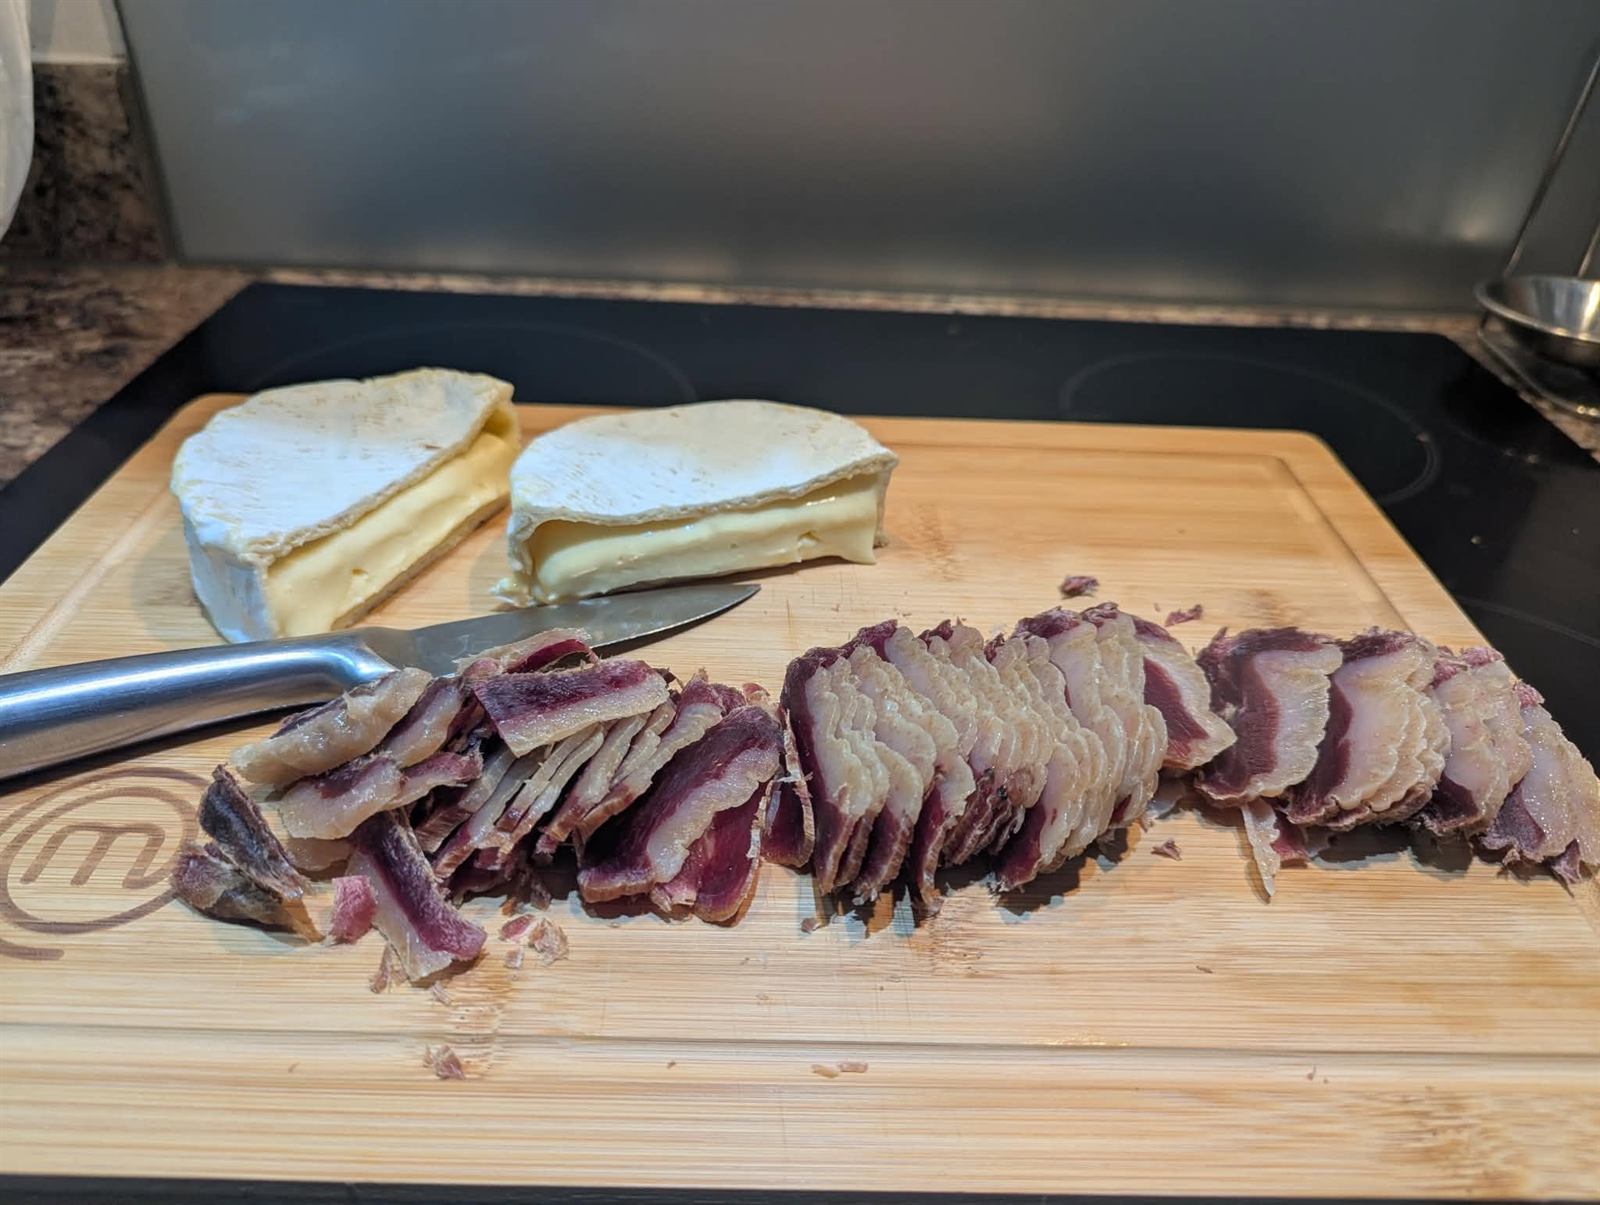
The last of the three large camembert, eaten with some duck breast prosciutto (no section for charcuterie yet, I've still only ever made the duck breast prosciutto, but perhaps I can combine with the sausagemaking section and expand).
Castle Blue
The recipe calls this a Castle Blue, but really it's a Gorgonzola - I just don't want the PDO police to send me a cheese-and-desist letter, even if I think PDO's are largely stupid.
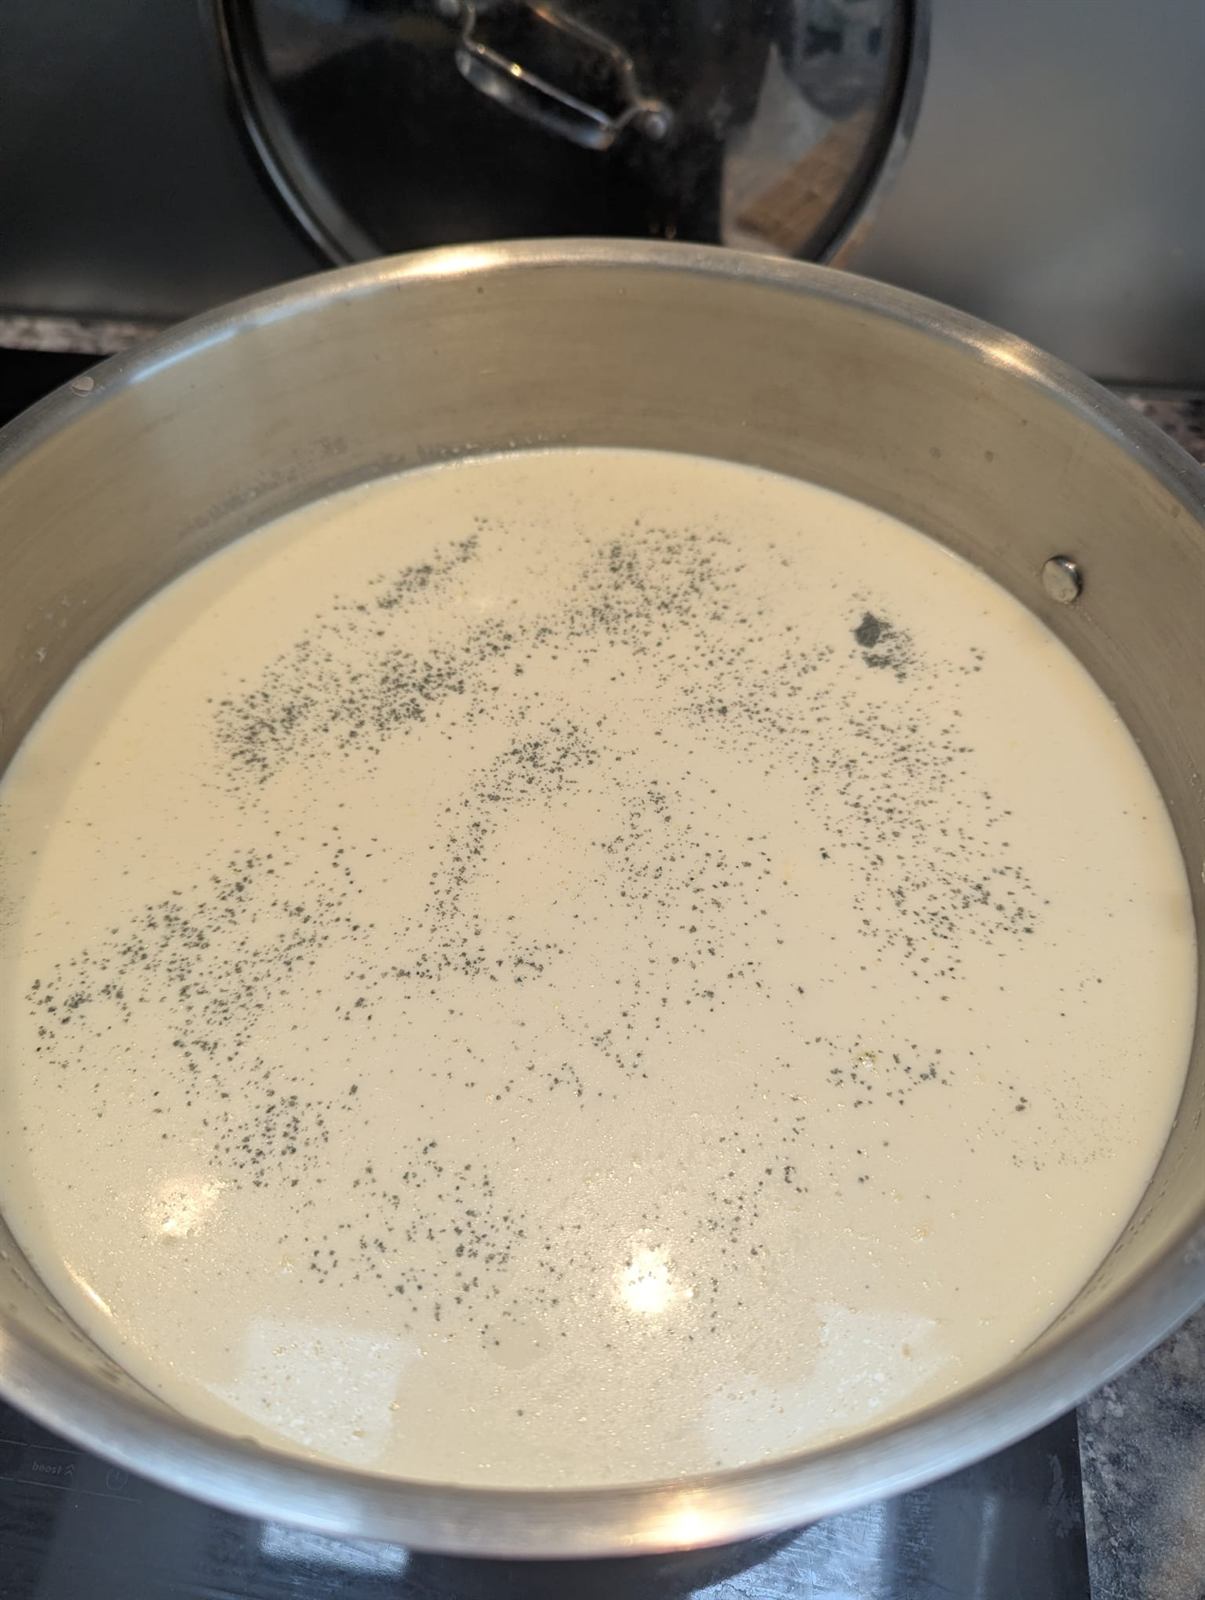
The P. Roqueforti sitting atop the pot of milk.
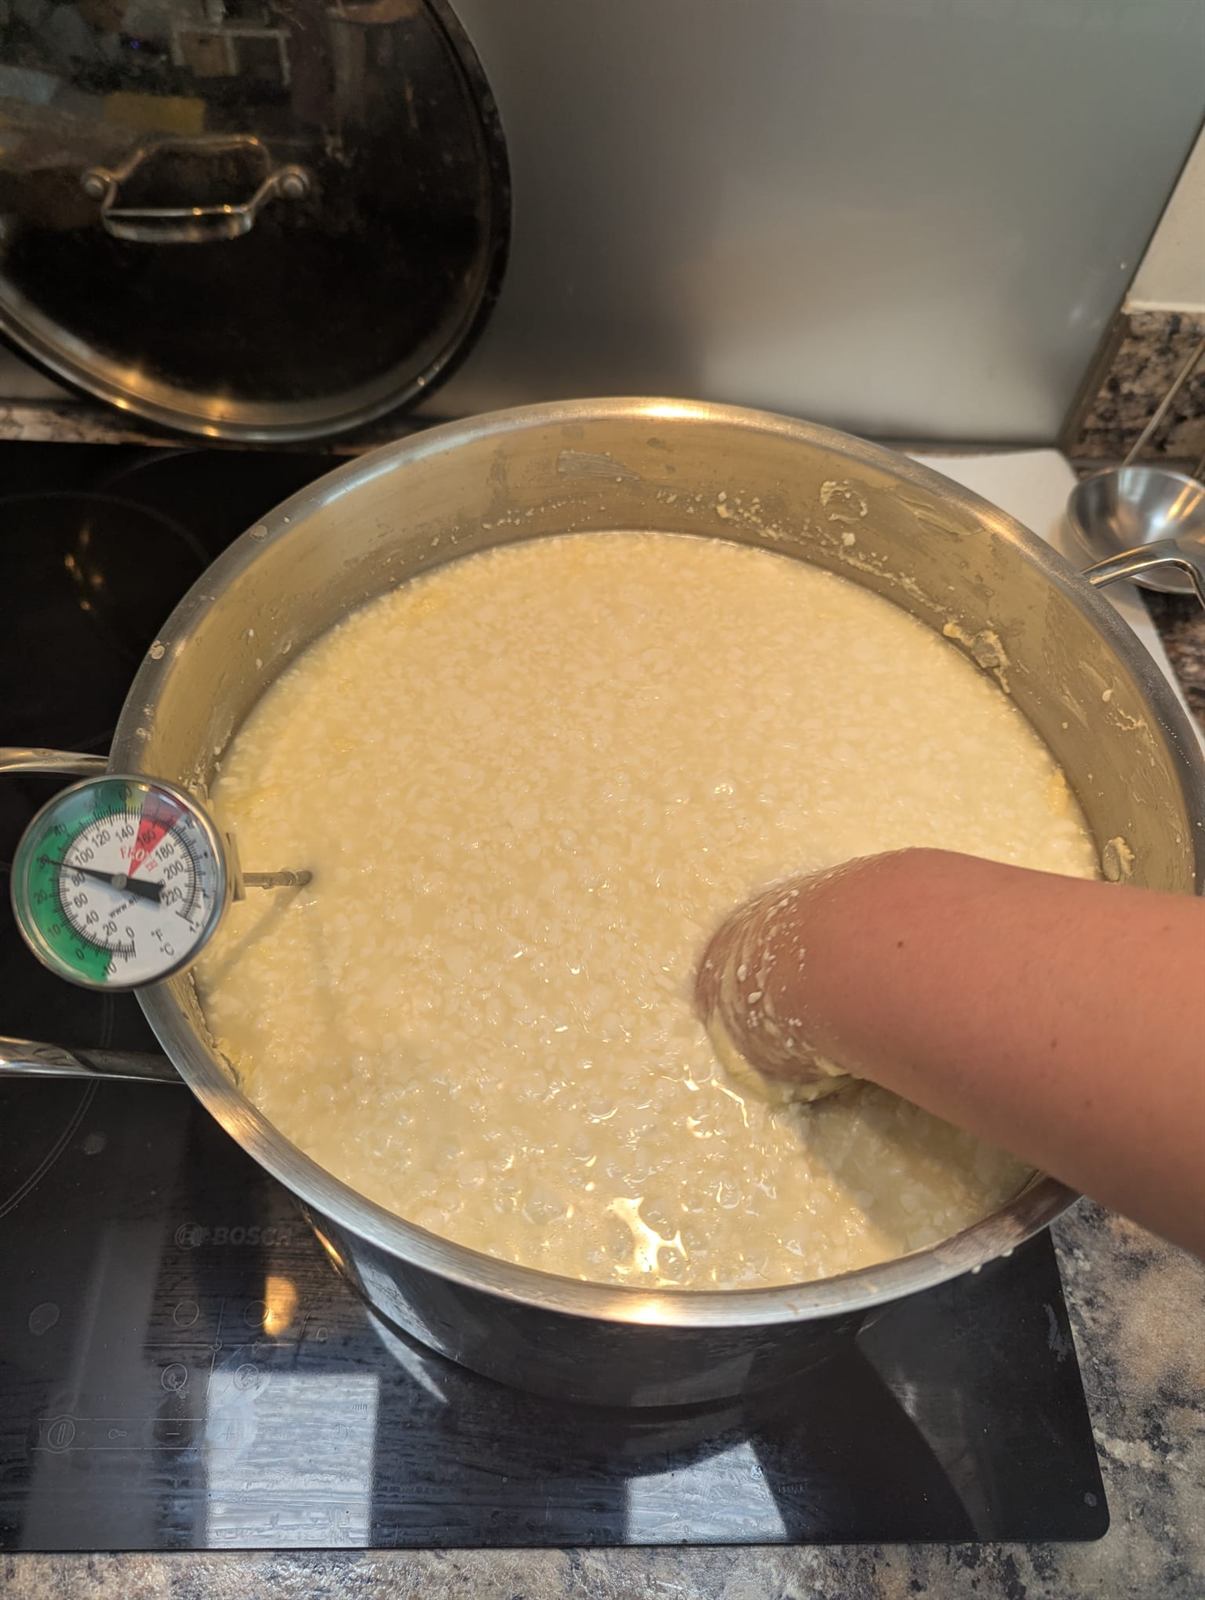
An action-shot of me stirring the curd by hand.
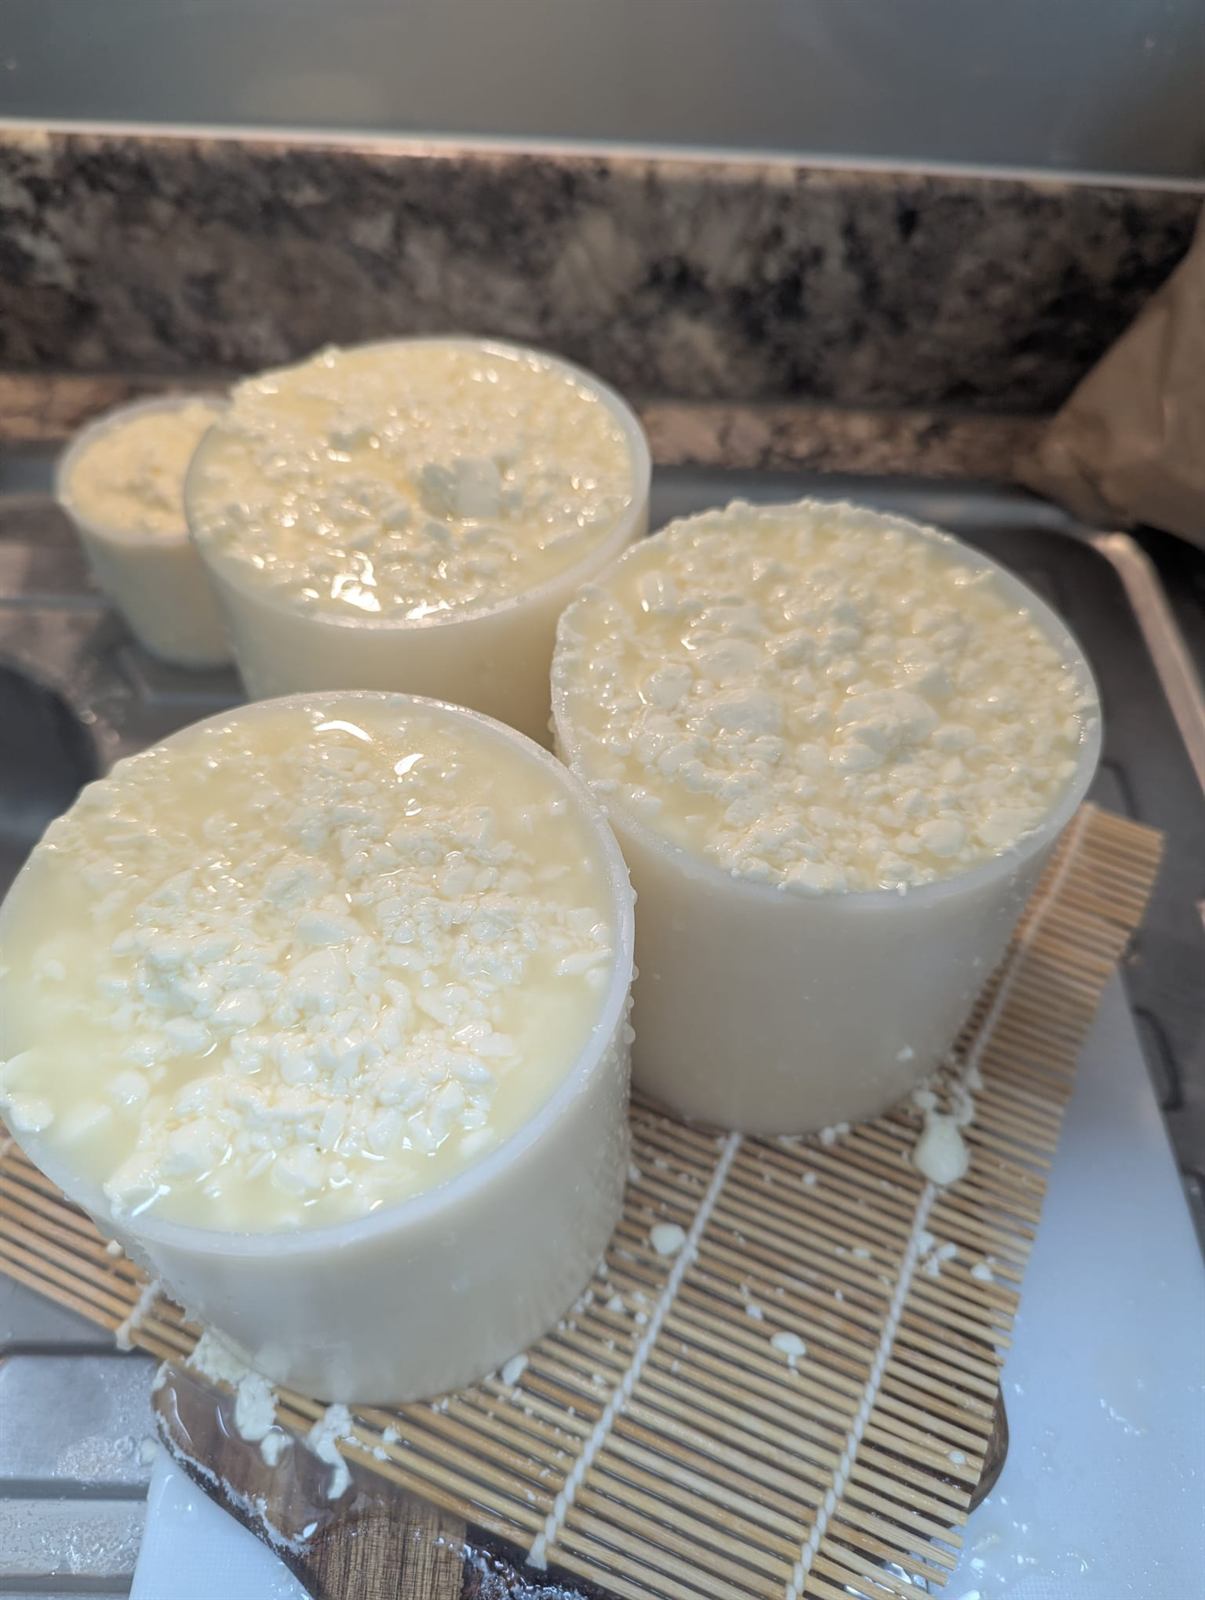
Molds filled all the way to the top. These are the same molds as I use on the camembert, but the curd will shrink considerably less (and also the milk is spiked with some heavy cream to boost the fat content in the finished cheese).
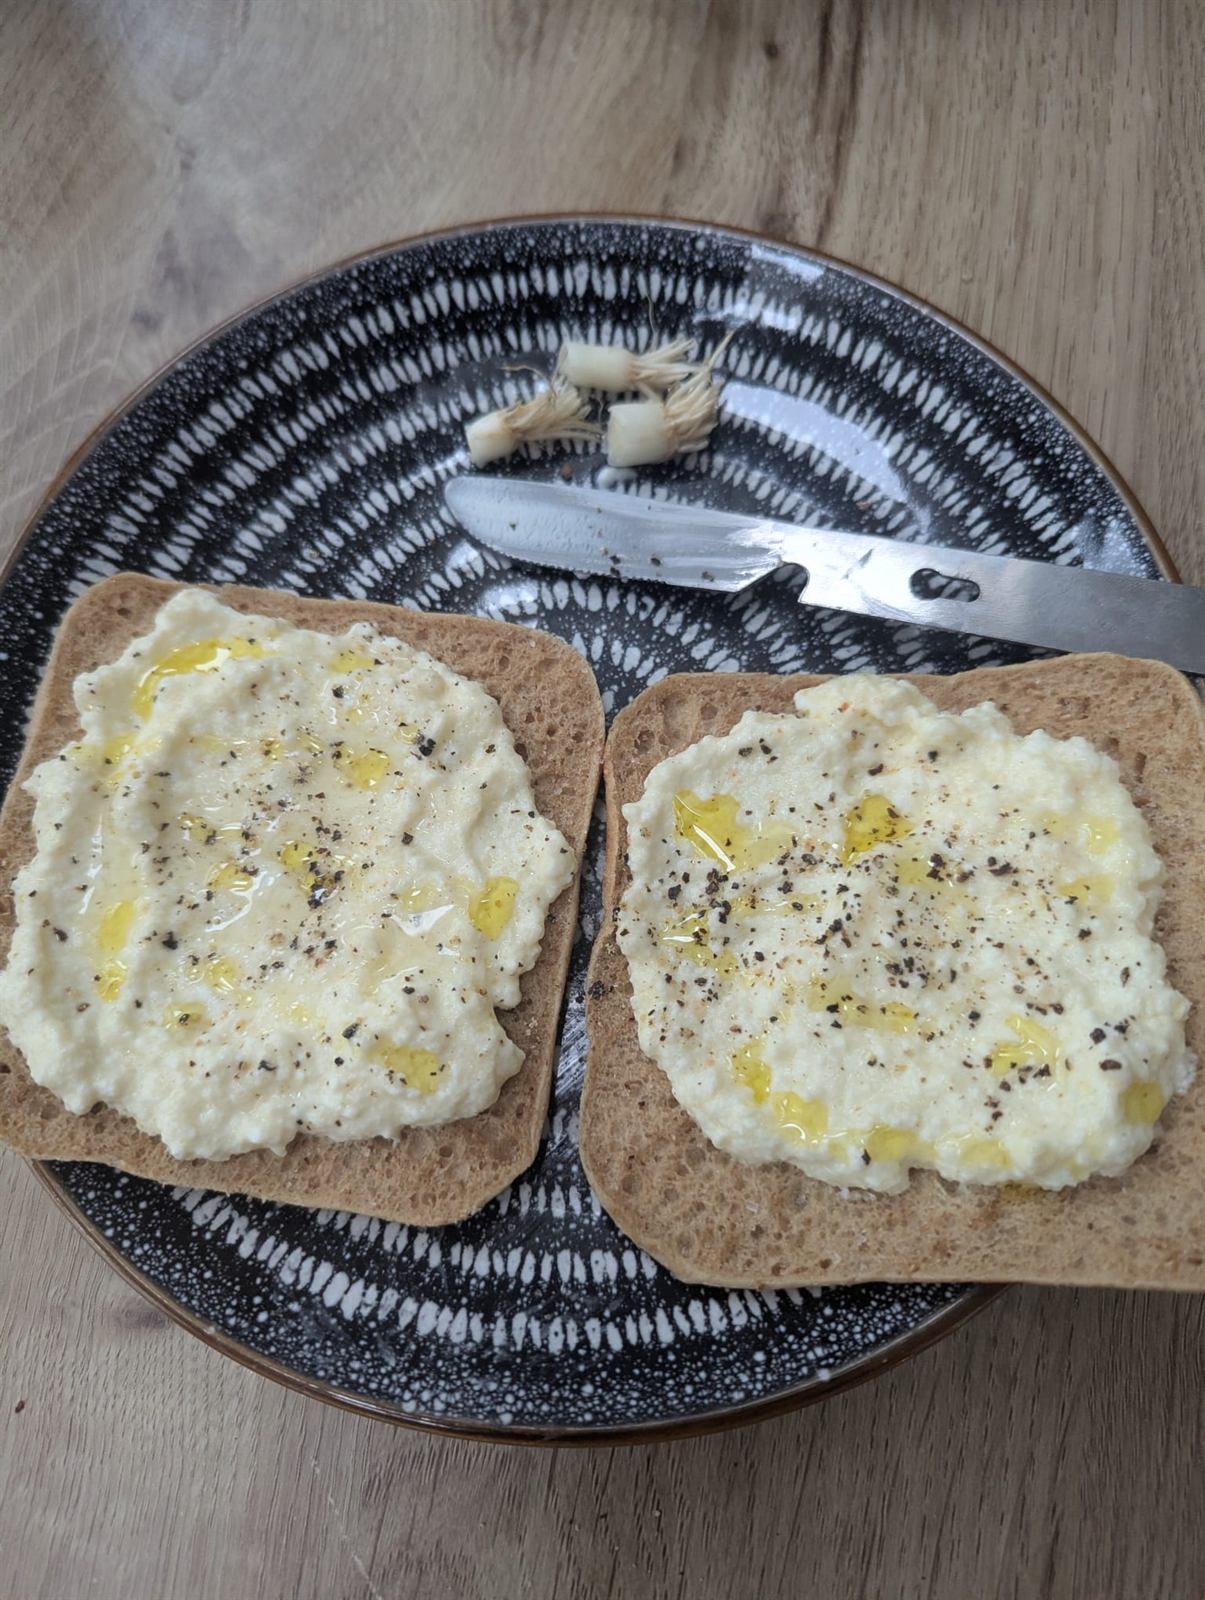
This was the first time I successfully made ricotta with the leftover whey! No blue taste at all.
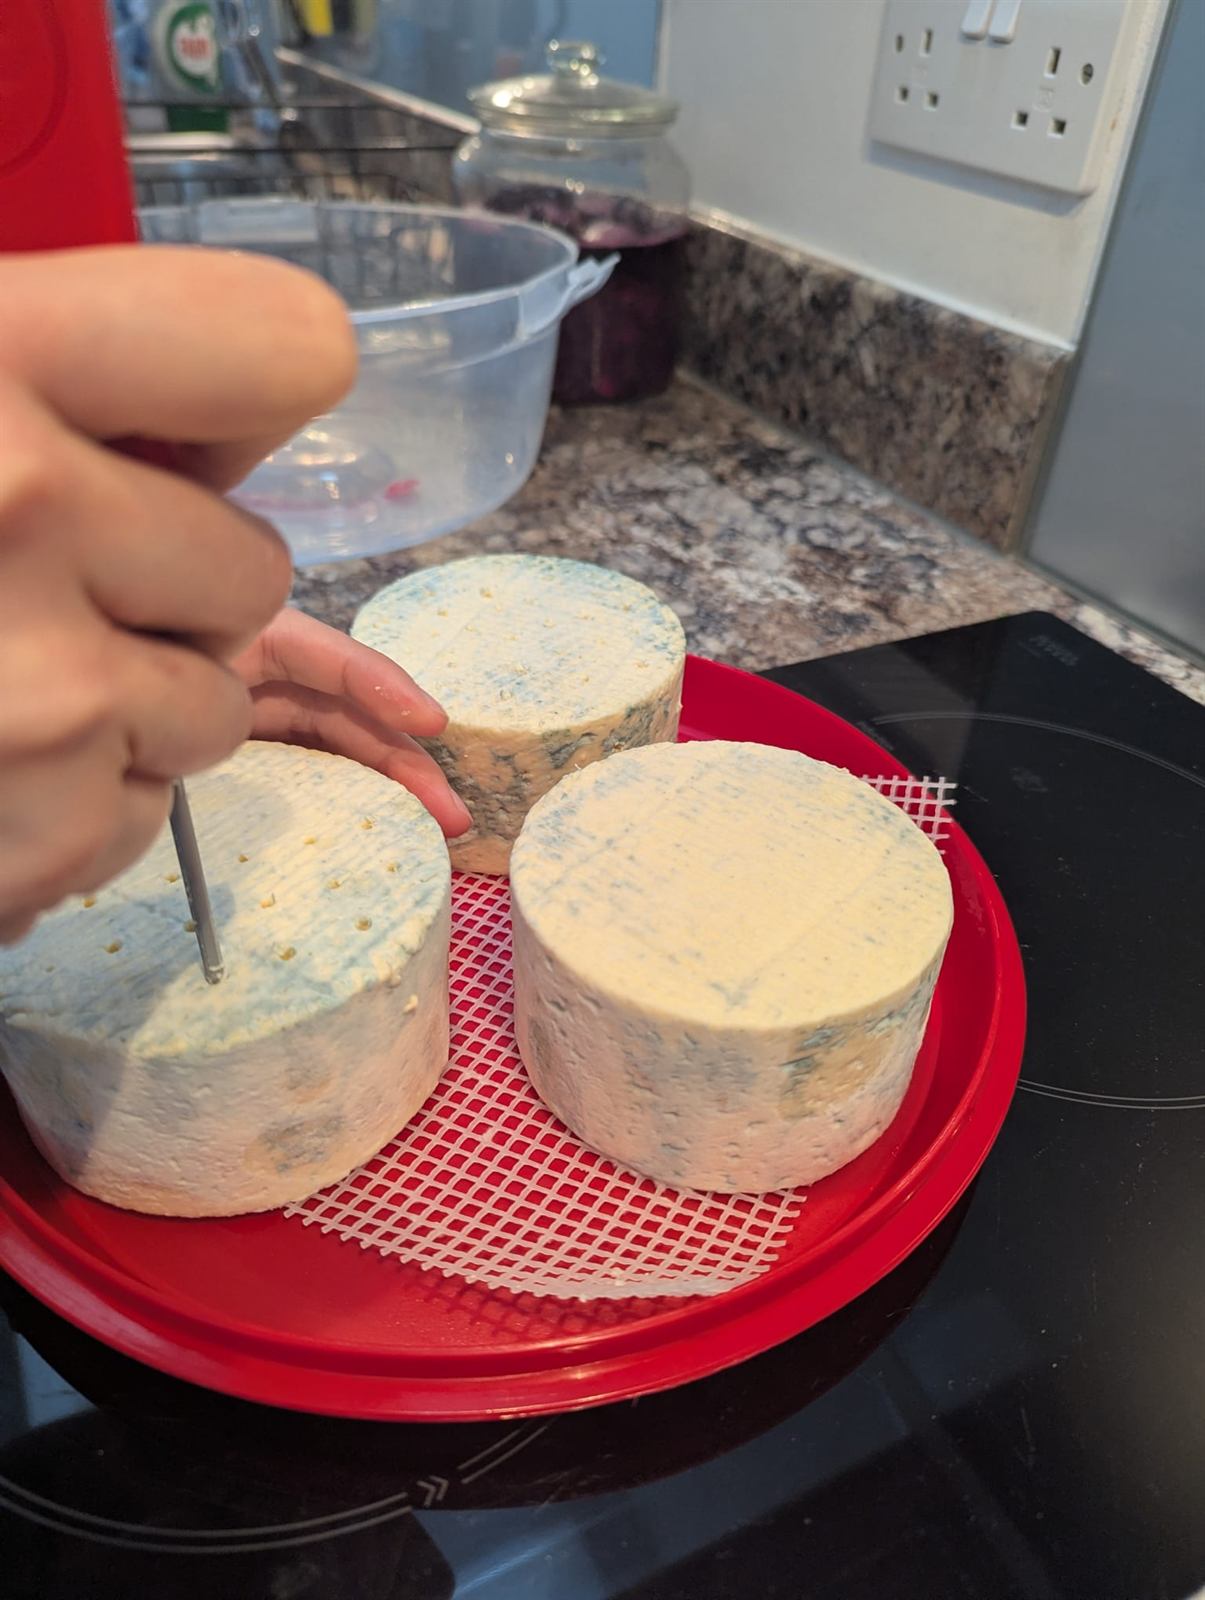
The blues receive their first poking. P. Roqueforti needs oxygen to develop its pretty blue color, so holes are poked thru the cheese to allow oxygen to reach inside. That's why blue cheeses often have clean, straight lines of blue veins running throughout. A temperature probe works well.
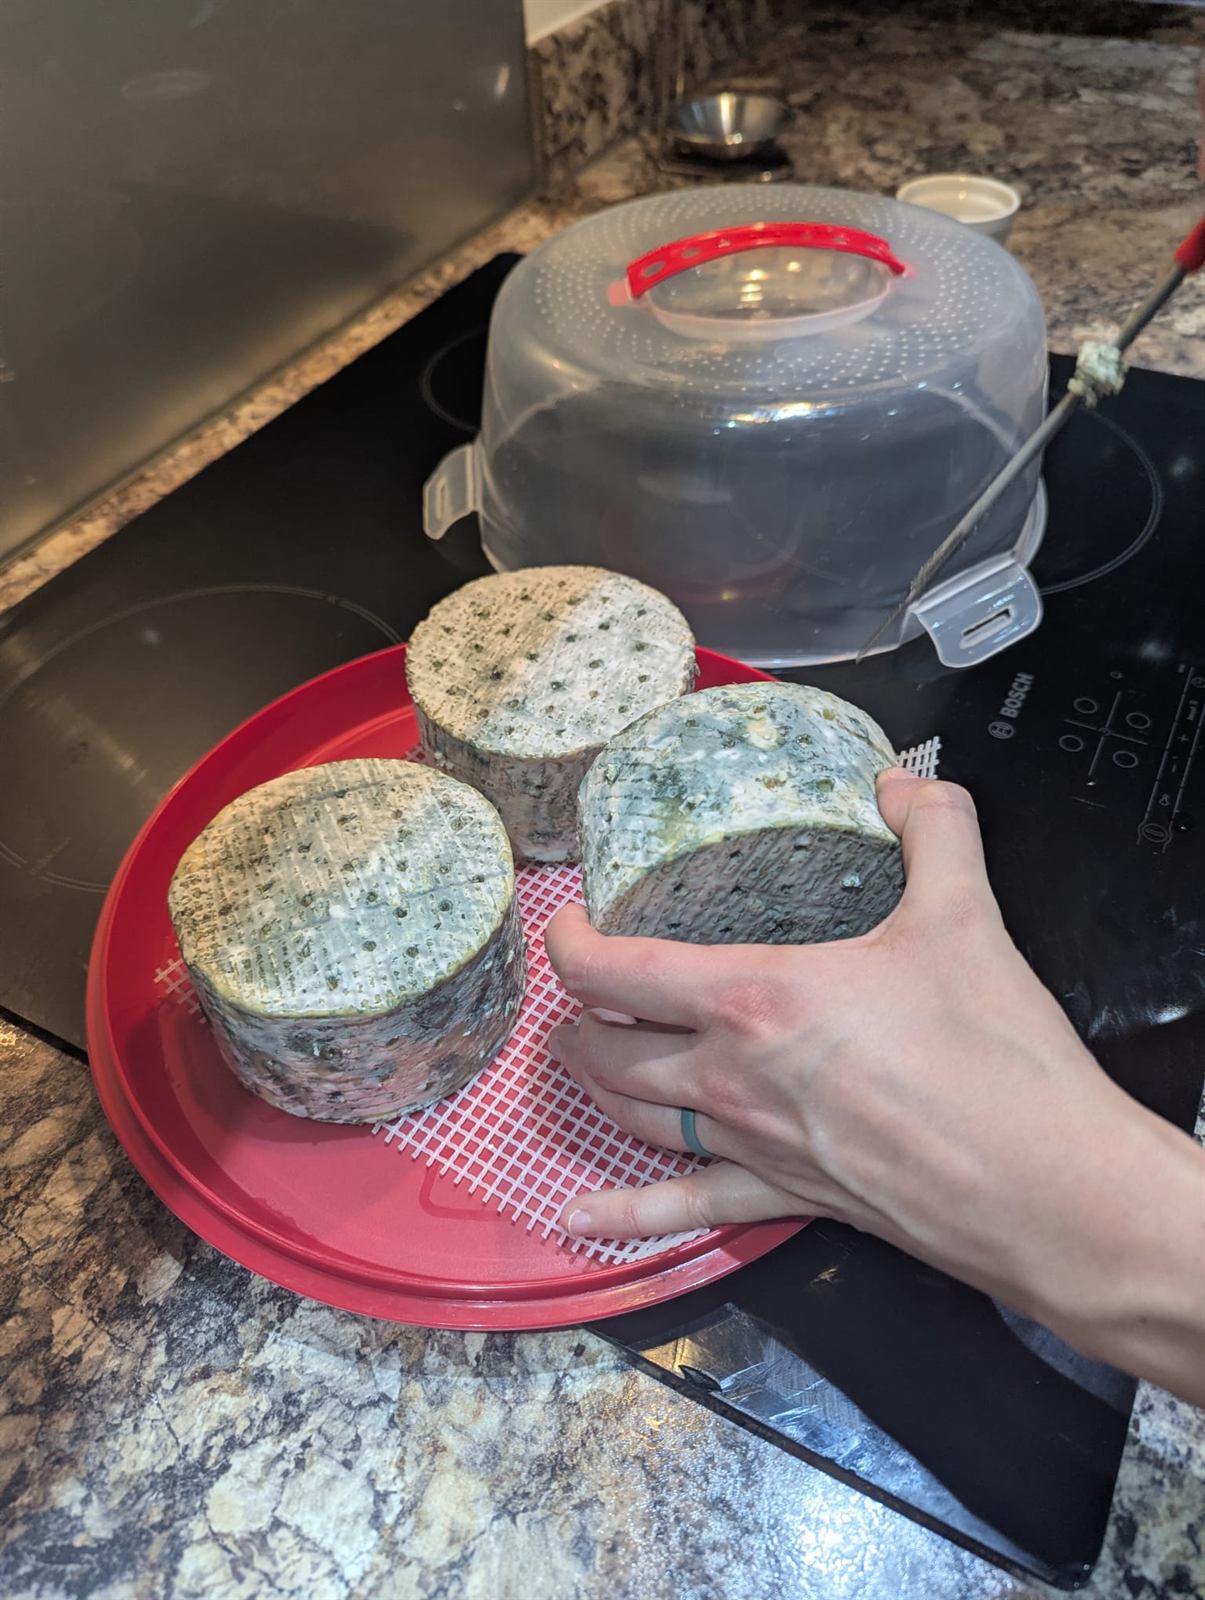
The blues receive their second and final poking. Interestingly, they smelled more like blue cheese at the first poking than at the second, even though the blue was far more developed at the second poking.
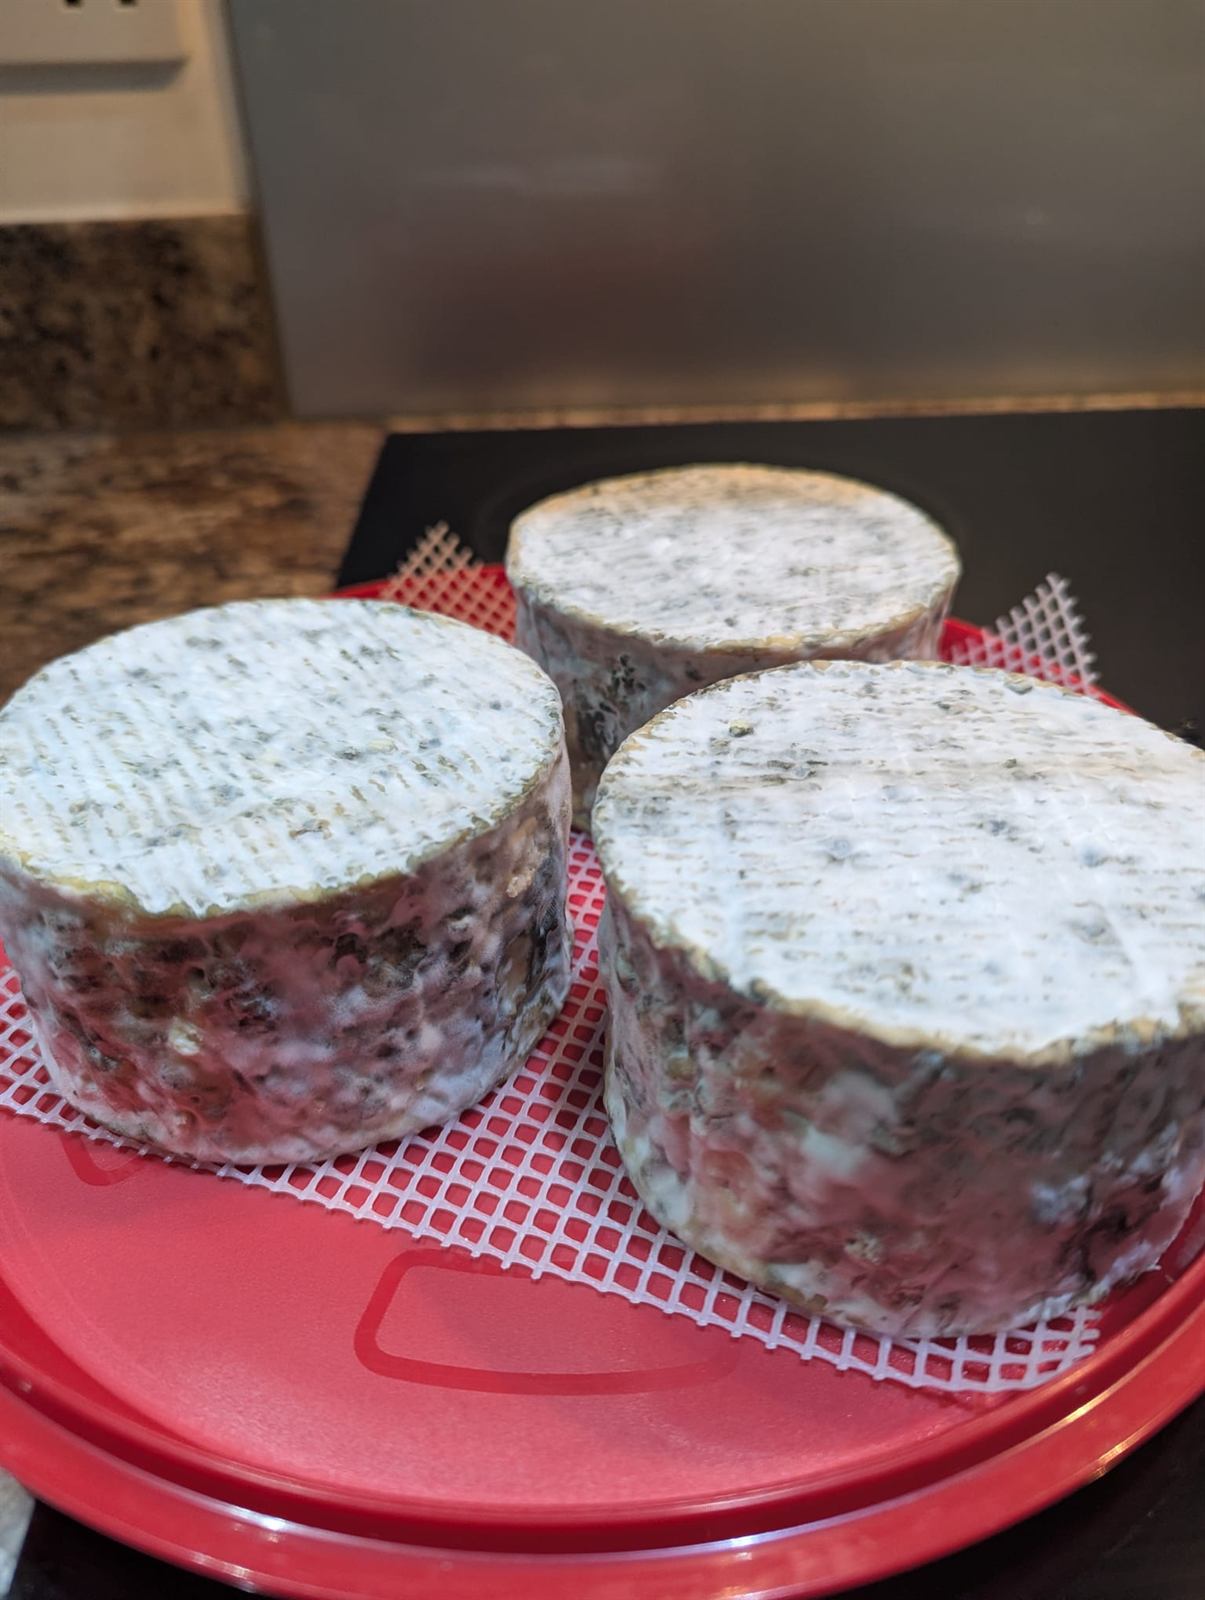
Beautiful.
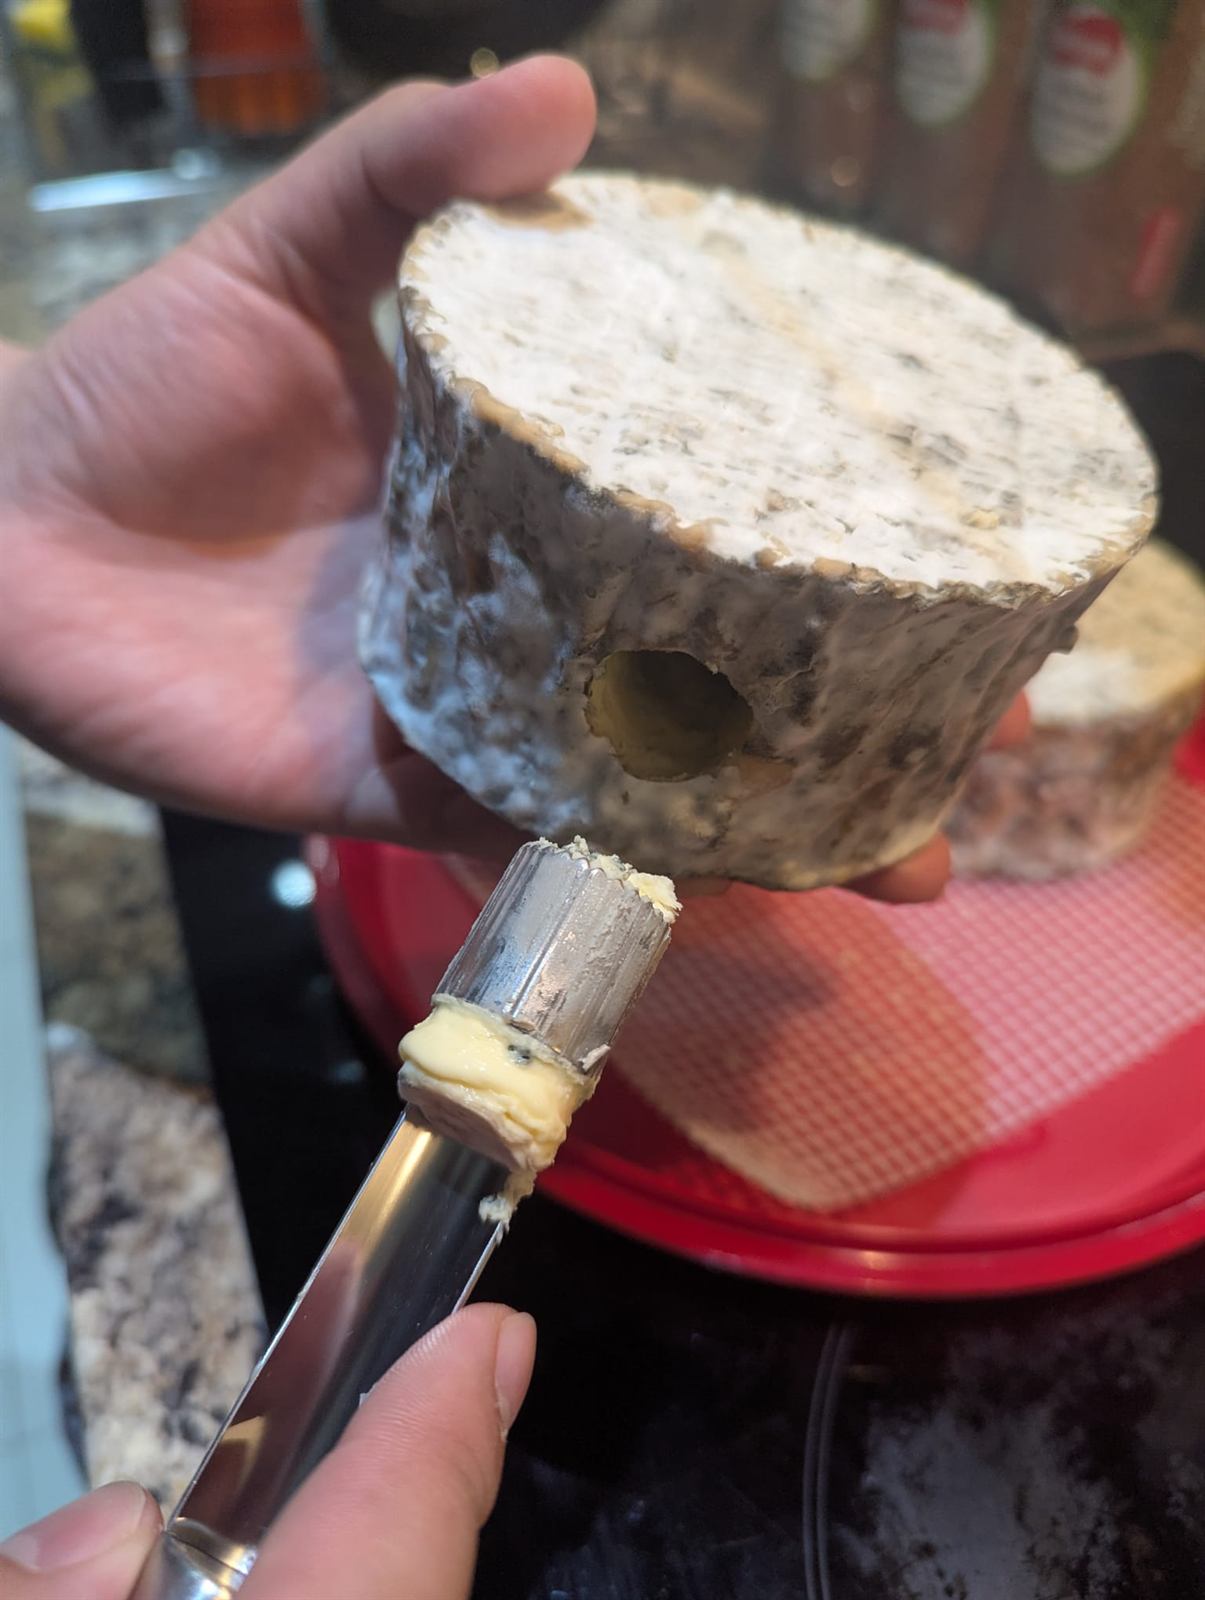
Taking a core sample to check if there is sufficient vein development. I used an apple-corer which was recommended, but it was very difficult to put the core back into the cheese (and yes, that's how they do it in commercial wheels too, they just stuff the core back into the cheese!)
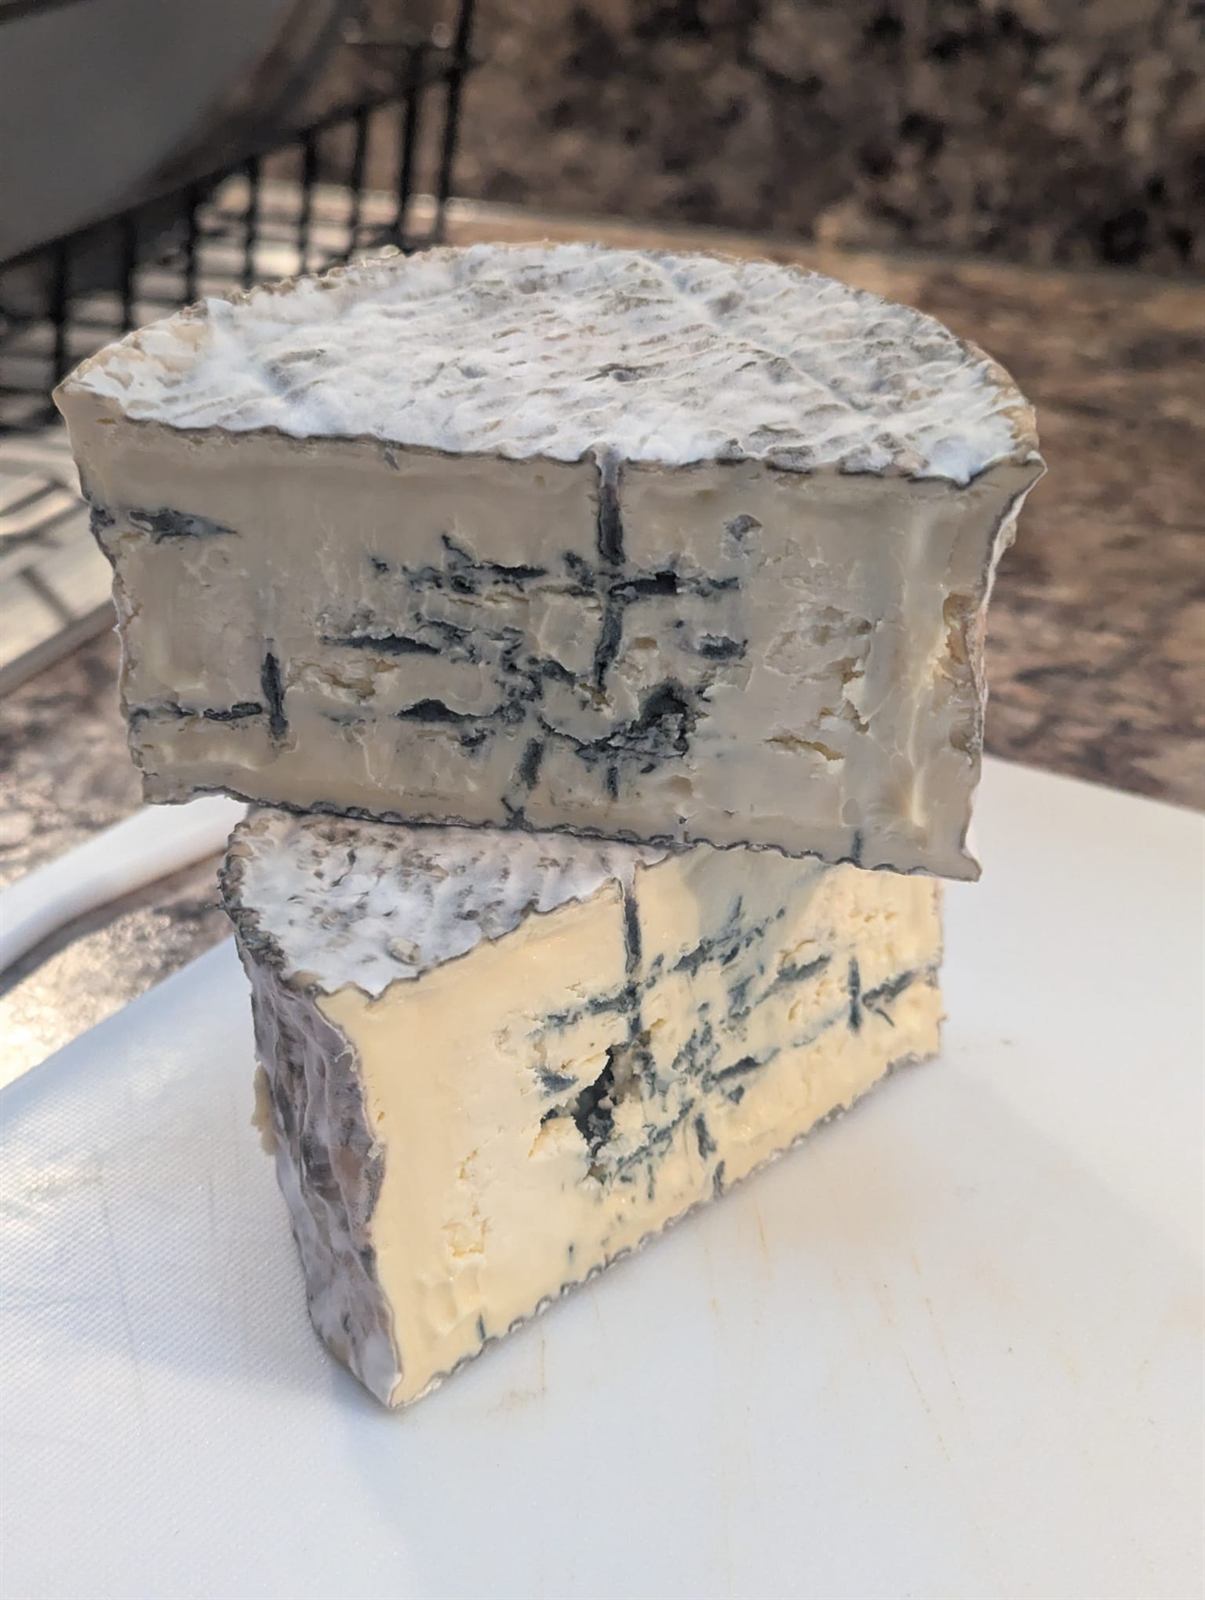
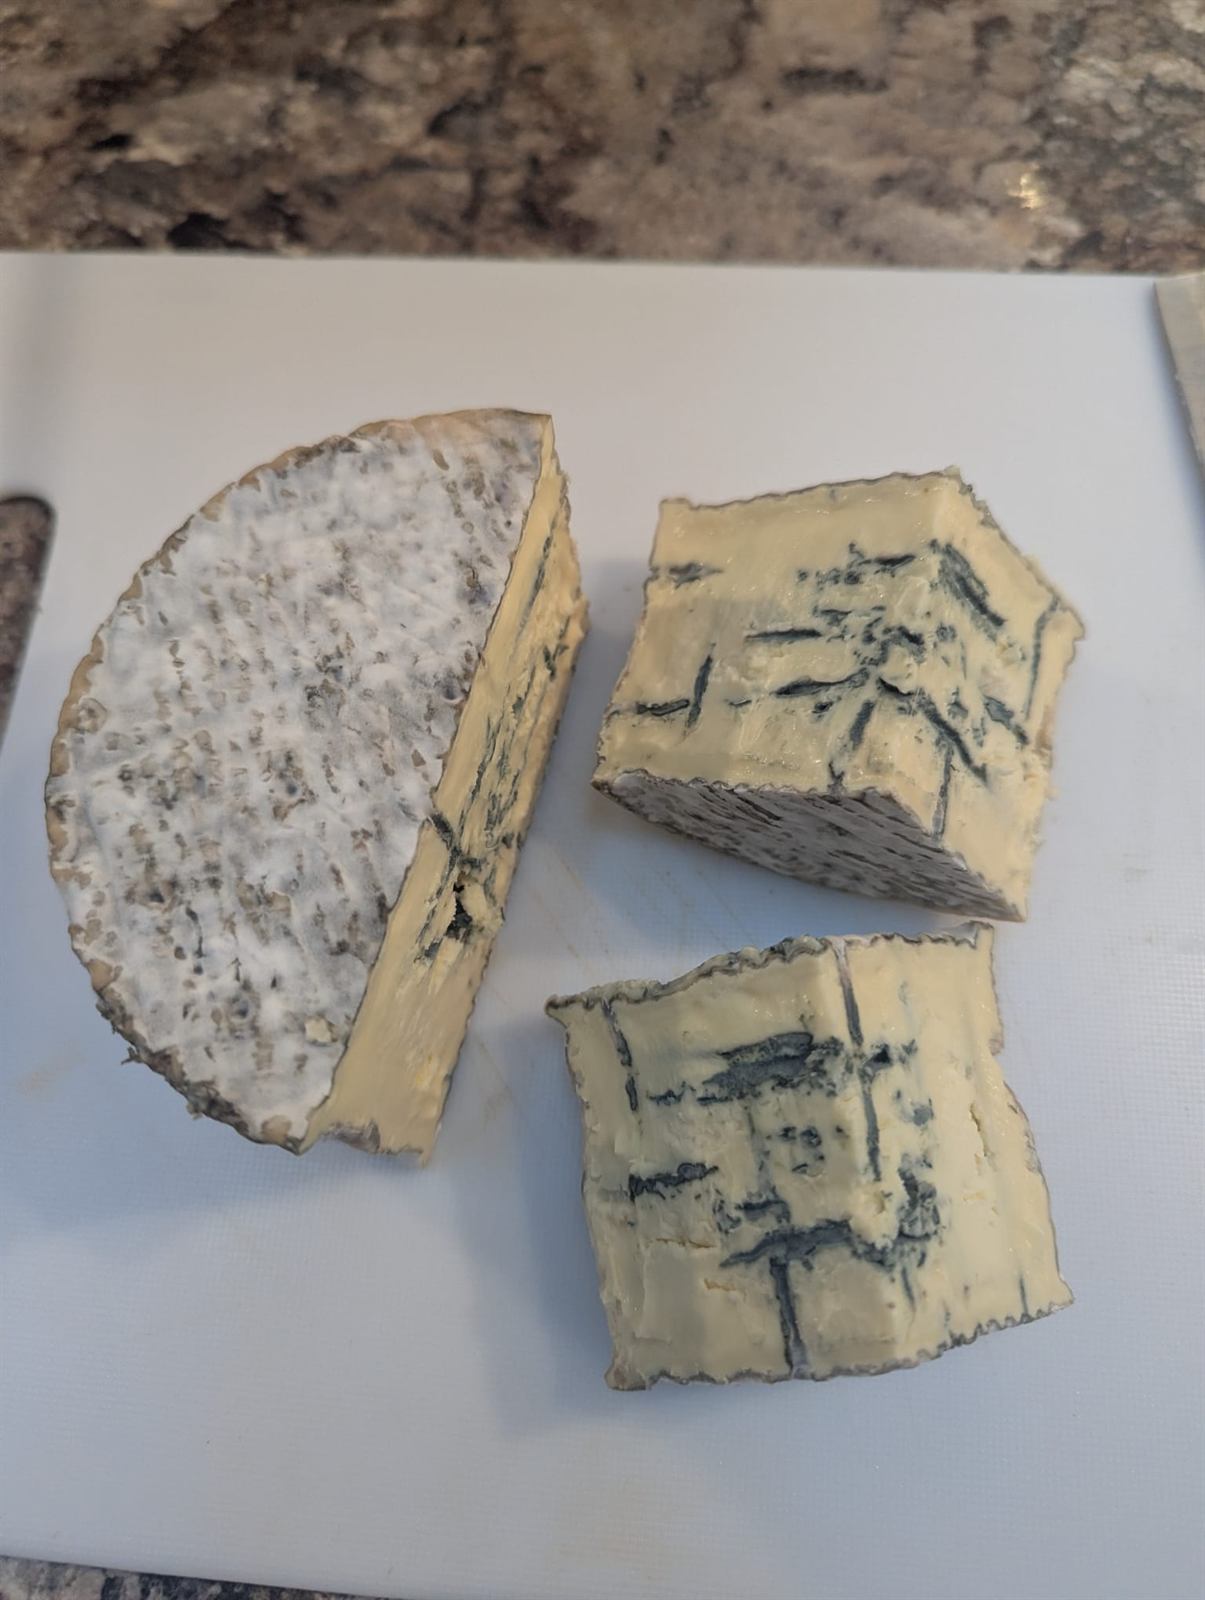
Glory shot. Beautiful.
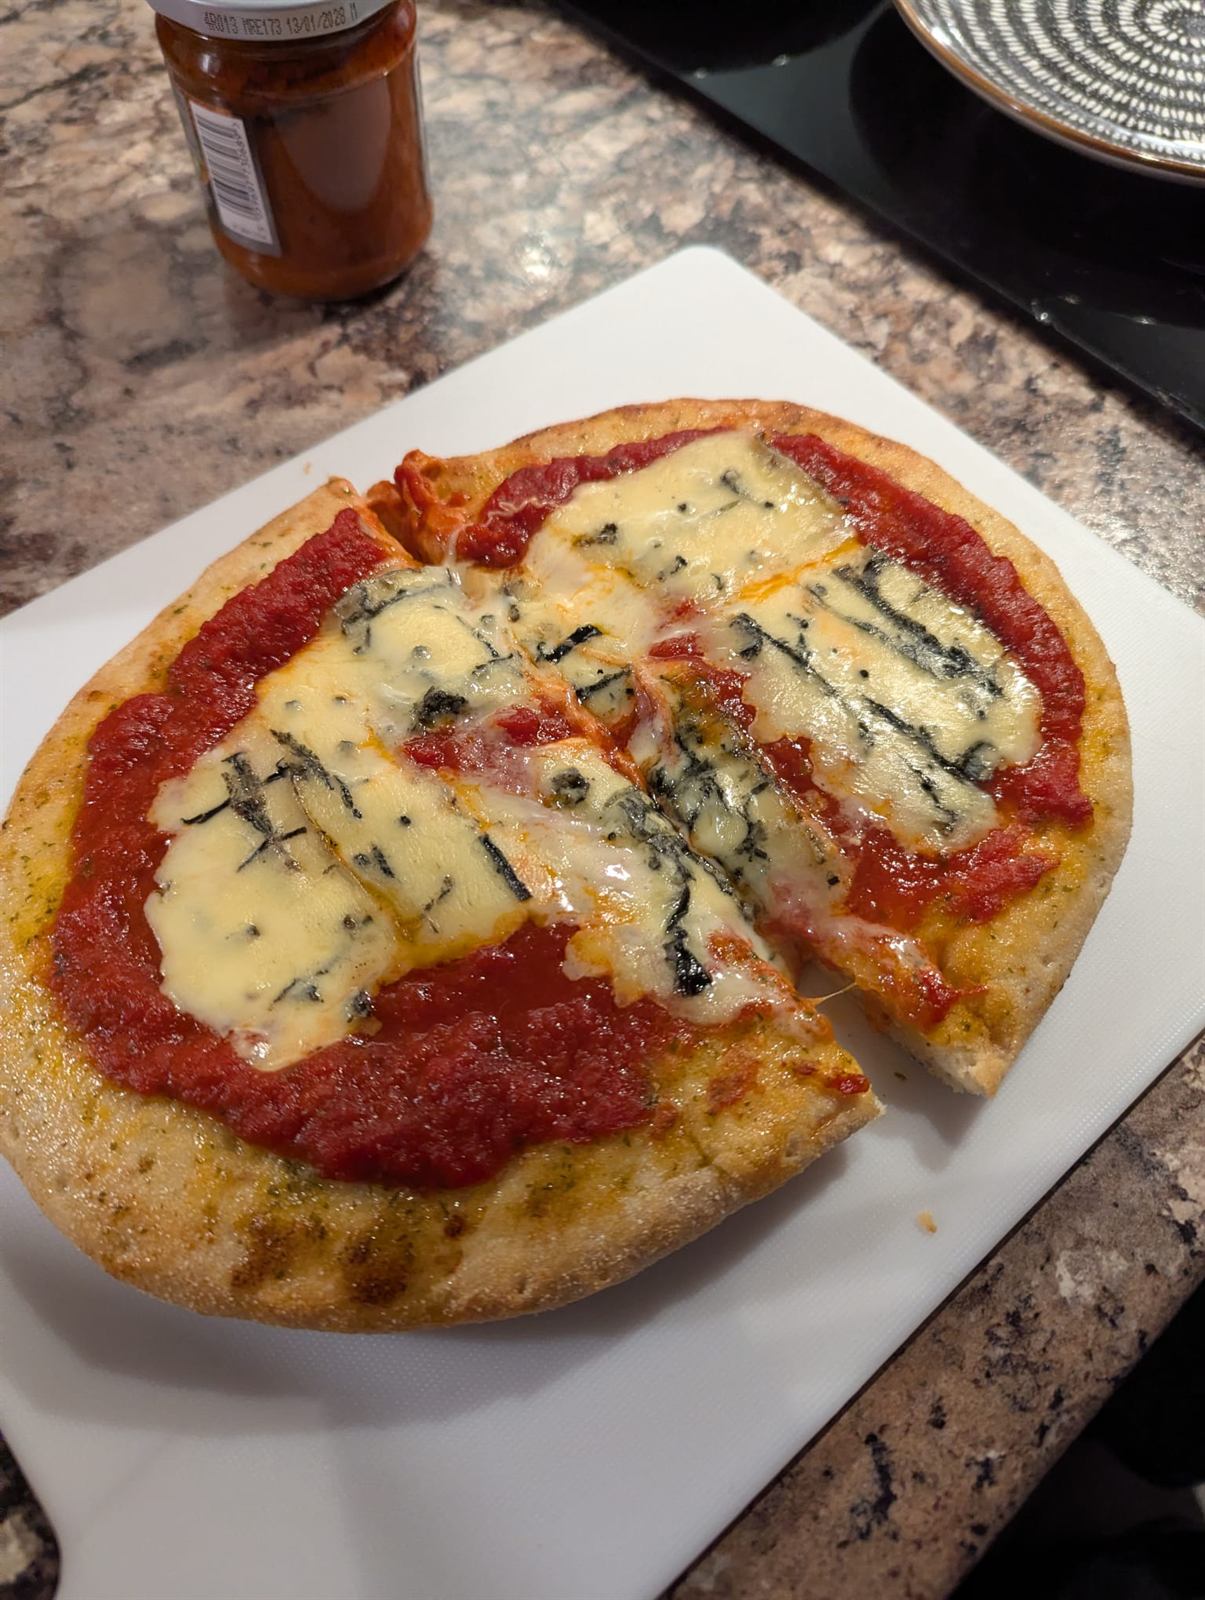
Blue cheese pizza, because why not.
Tommes
An experiment in natural rind cheeses. This is where you do not purposefully add any molds to the curd which are meant to make a rind, but rather let the wild yeasts make one for you.
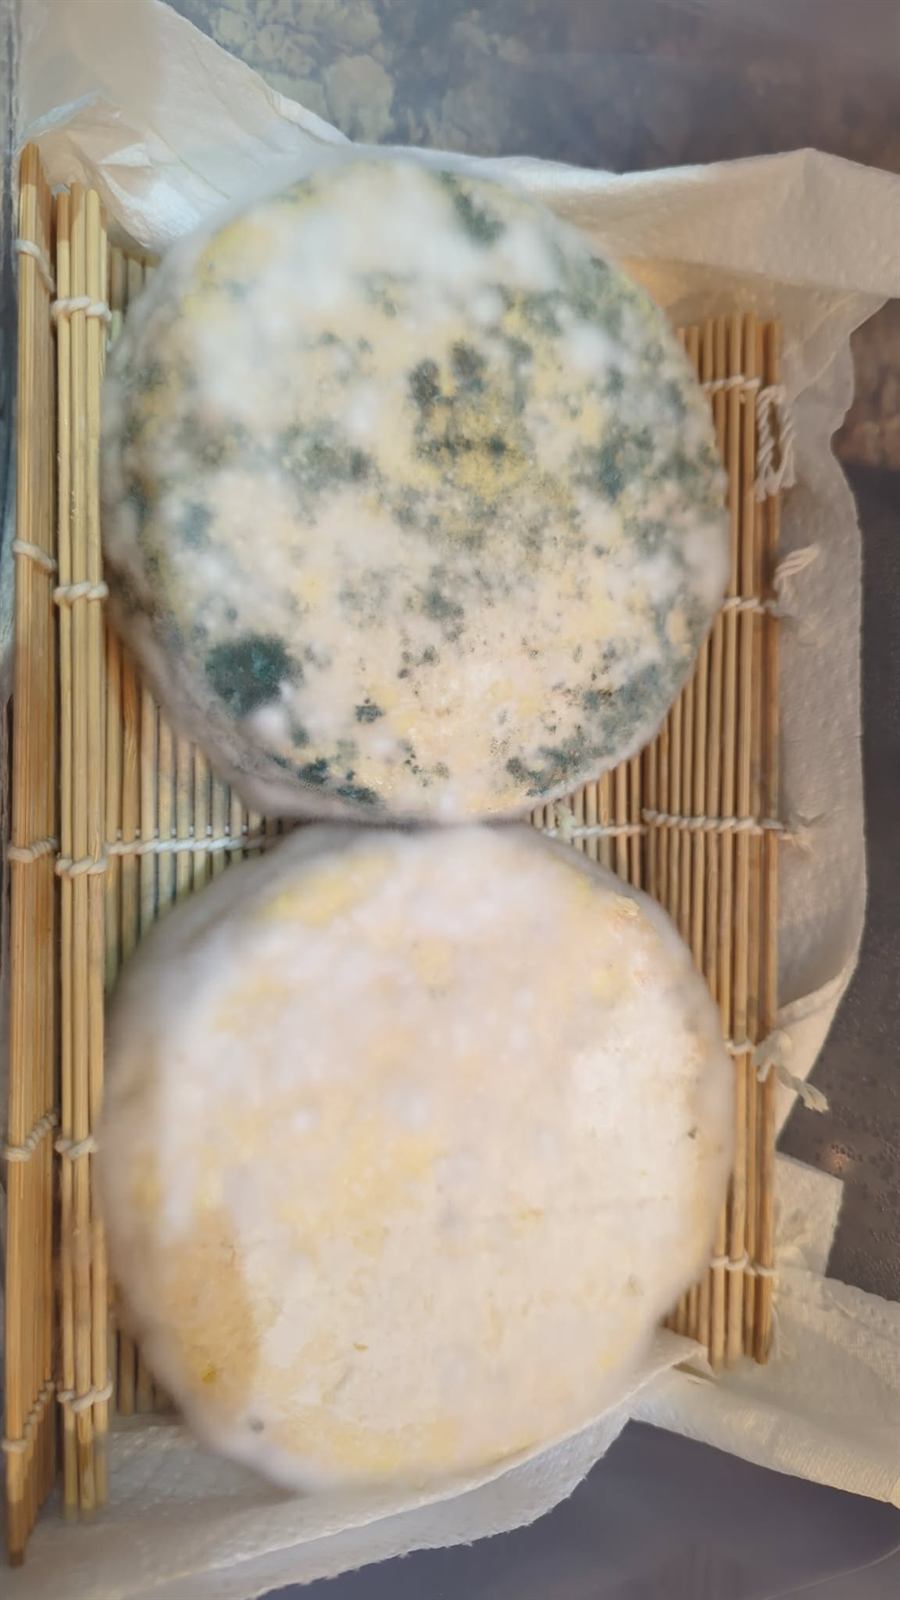
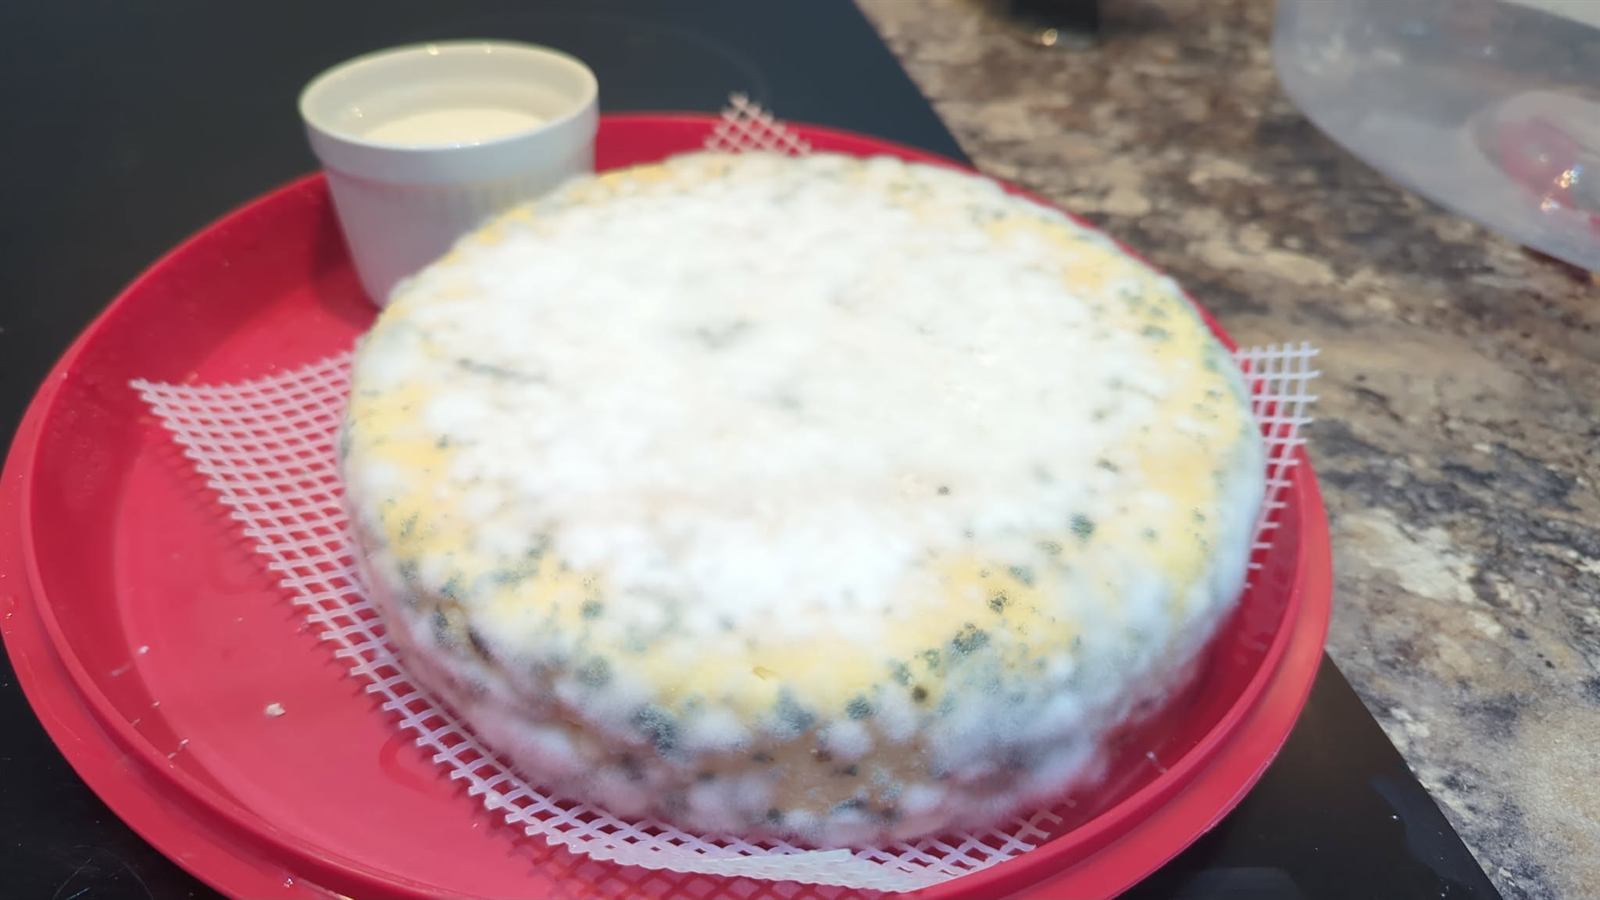
Quite scary looking at first after I had let them grow naturally to their heart's content. I did a lot of googling at this stage to see if they were safe to continue aging, and they were.
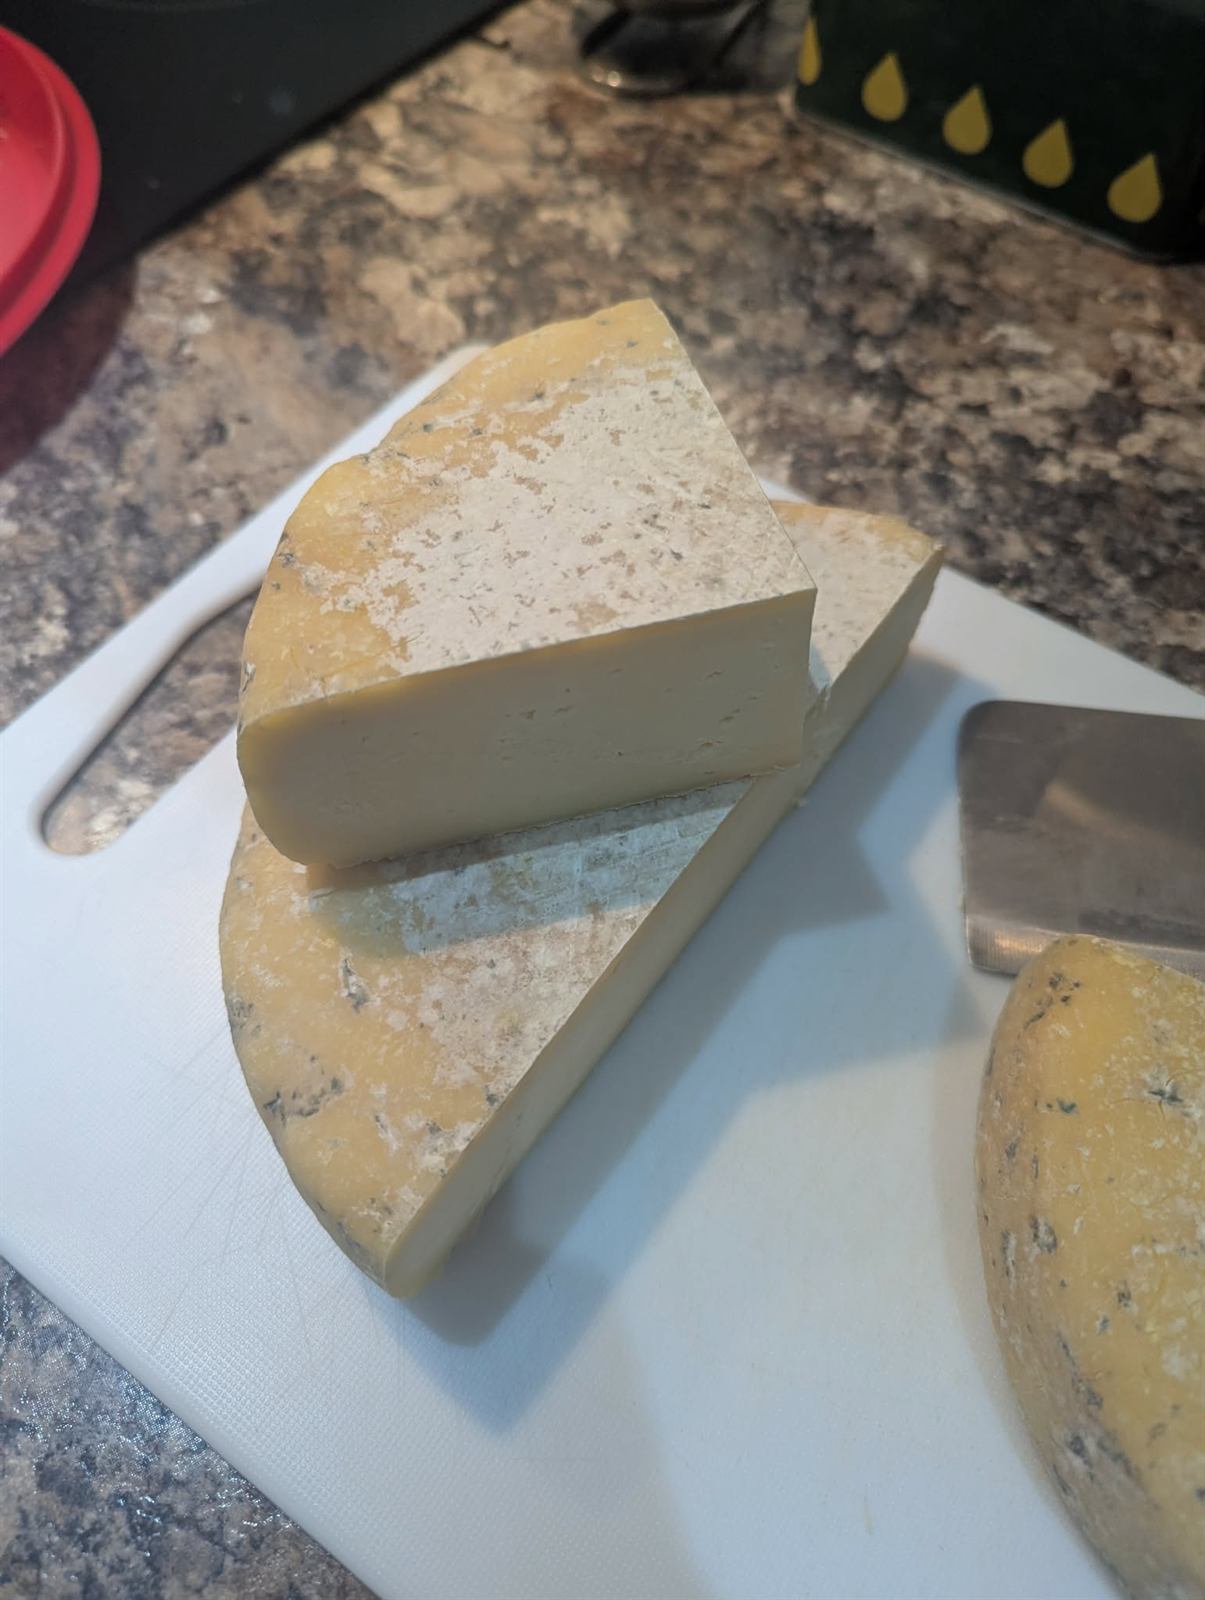
The advice was to wipe and brush with a brine solution, so I did, and the cheese looked a lot more edible afterwards. Still some ugly spots, but I think with more regular brushing during the early stages, the natural rind should work out.
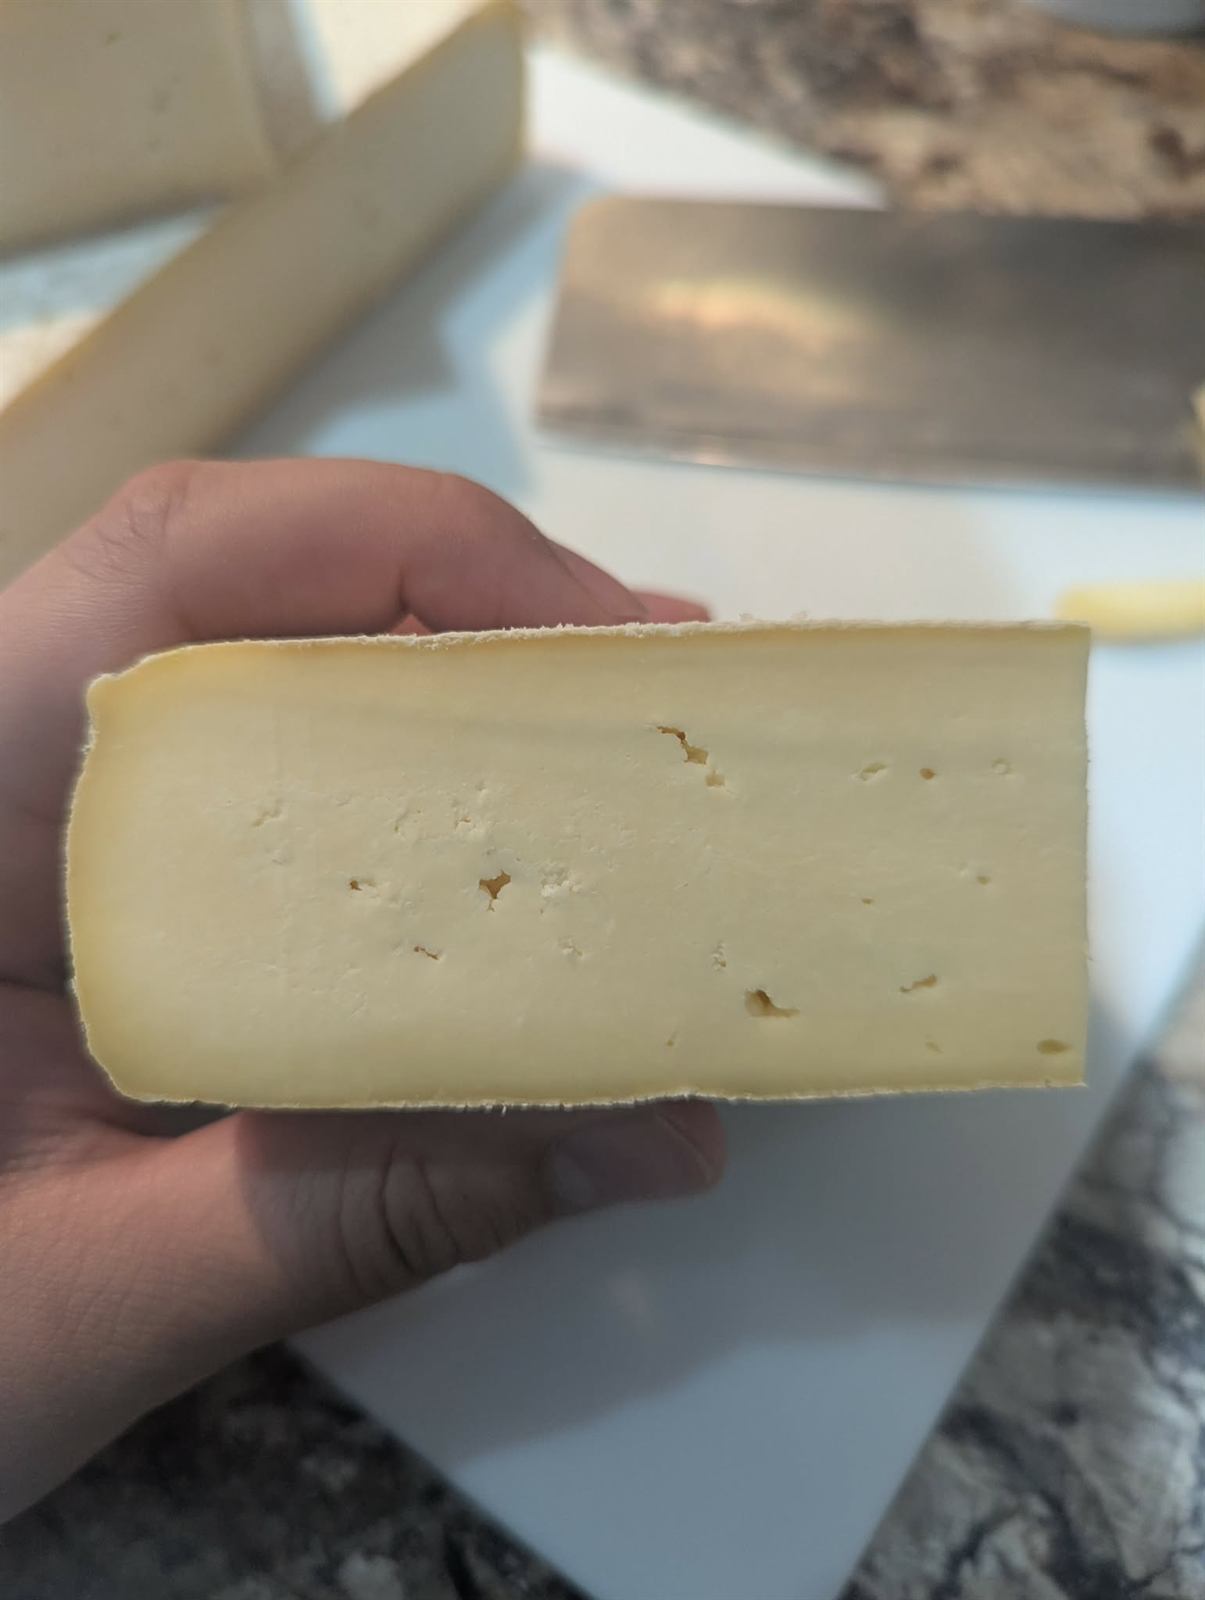
I ate it both with and without the rind. No surprise that it tasted far funkier with the rind on. Not bad at all.